
OWC Jellyfish Connect 2 Button Guide
Overview
OWC Jellyfish Connect is your all-in-one application to get users connected to their shares and access additional tools. When you launch the app, the OWC Jellyfish icon will appear in the upper right of the macOS menu bar (where you will find Wi-Fi, Bluetooth, battery statuses, etc).

Note for Windows users: Here is a link to OWC’s step-by-step manual configuration for Windows users: Configure Windows Workstation Manually
Click the OWC Jellyfish icon anytime you want to connect to your shares, access our tools, or activate remote access to your OWC Jellyfish.
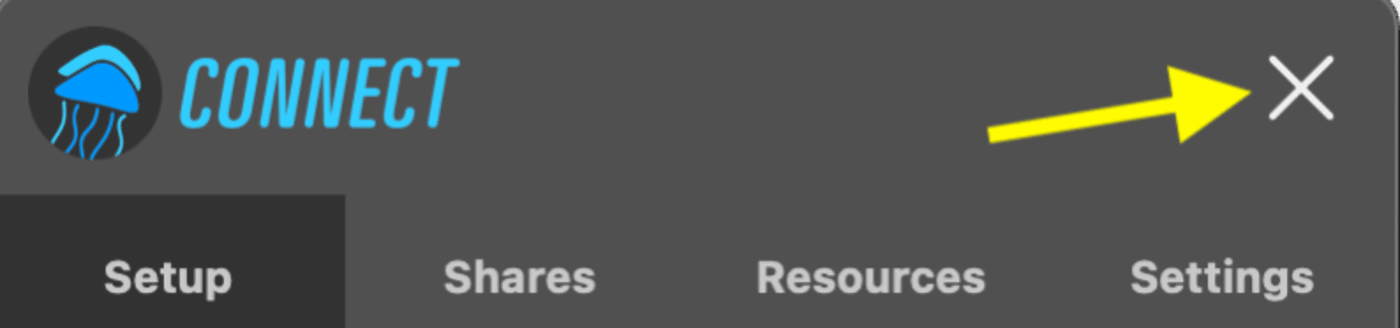
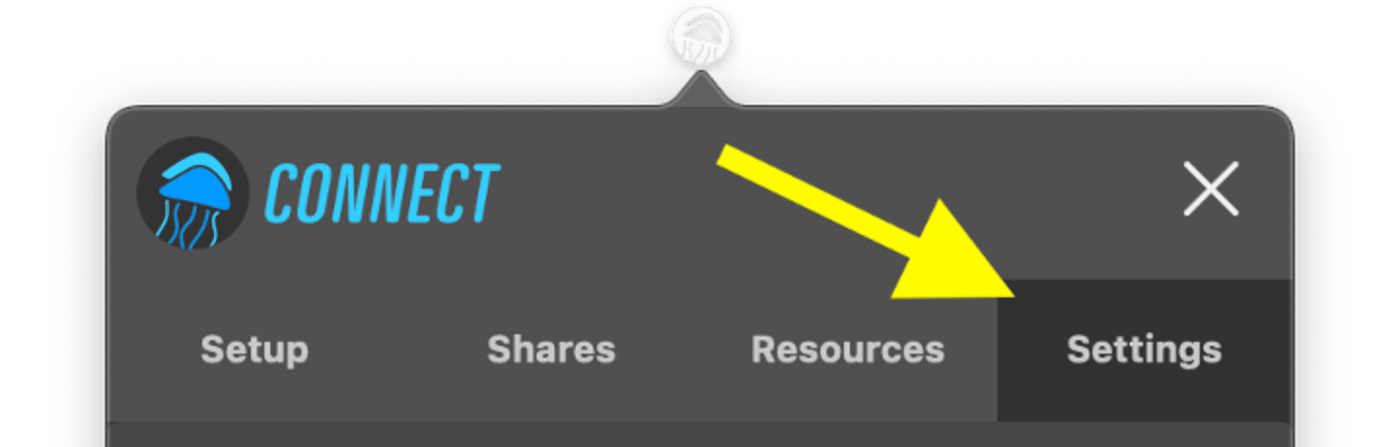
When you launch OWC Jellyfish Connect, at the top of the frame you’ll see the OWC Jellyfish Connect logo and a large ‘X’. Please note that the ‘X’ will close the app, not minimize it.
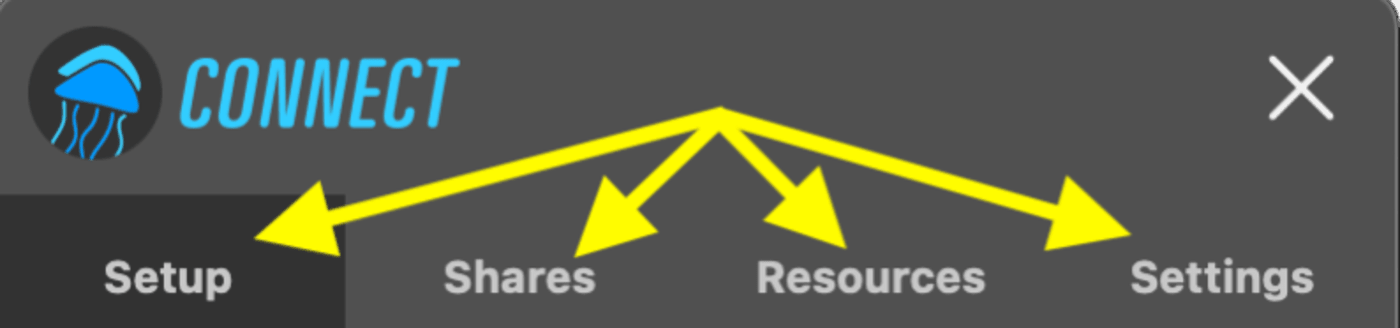
The OWC Jellyfish Connect app’s uses are divided into four separate tabs, just under the logo. Setup, Shares, Resources, and Settings. Let’s break each of those down!
Setup
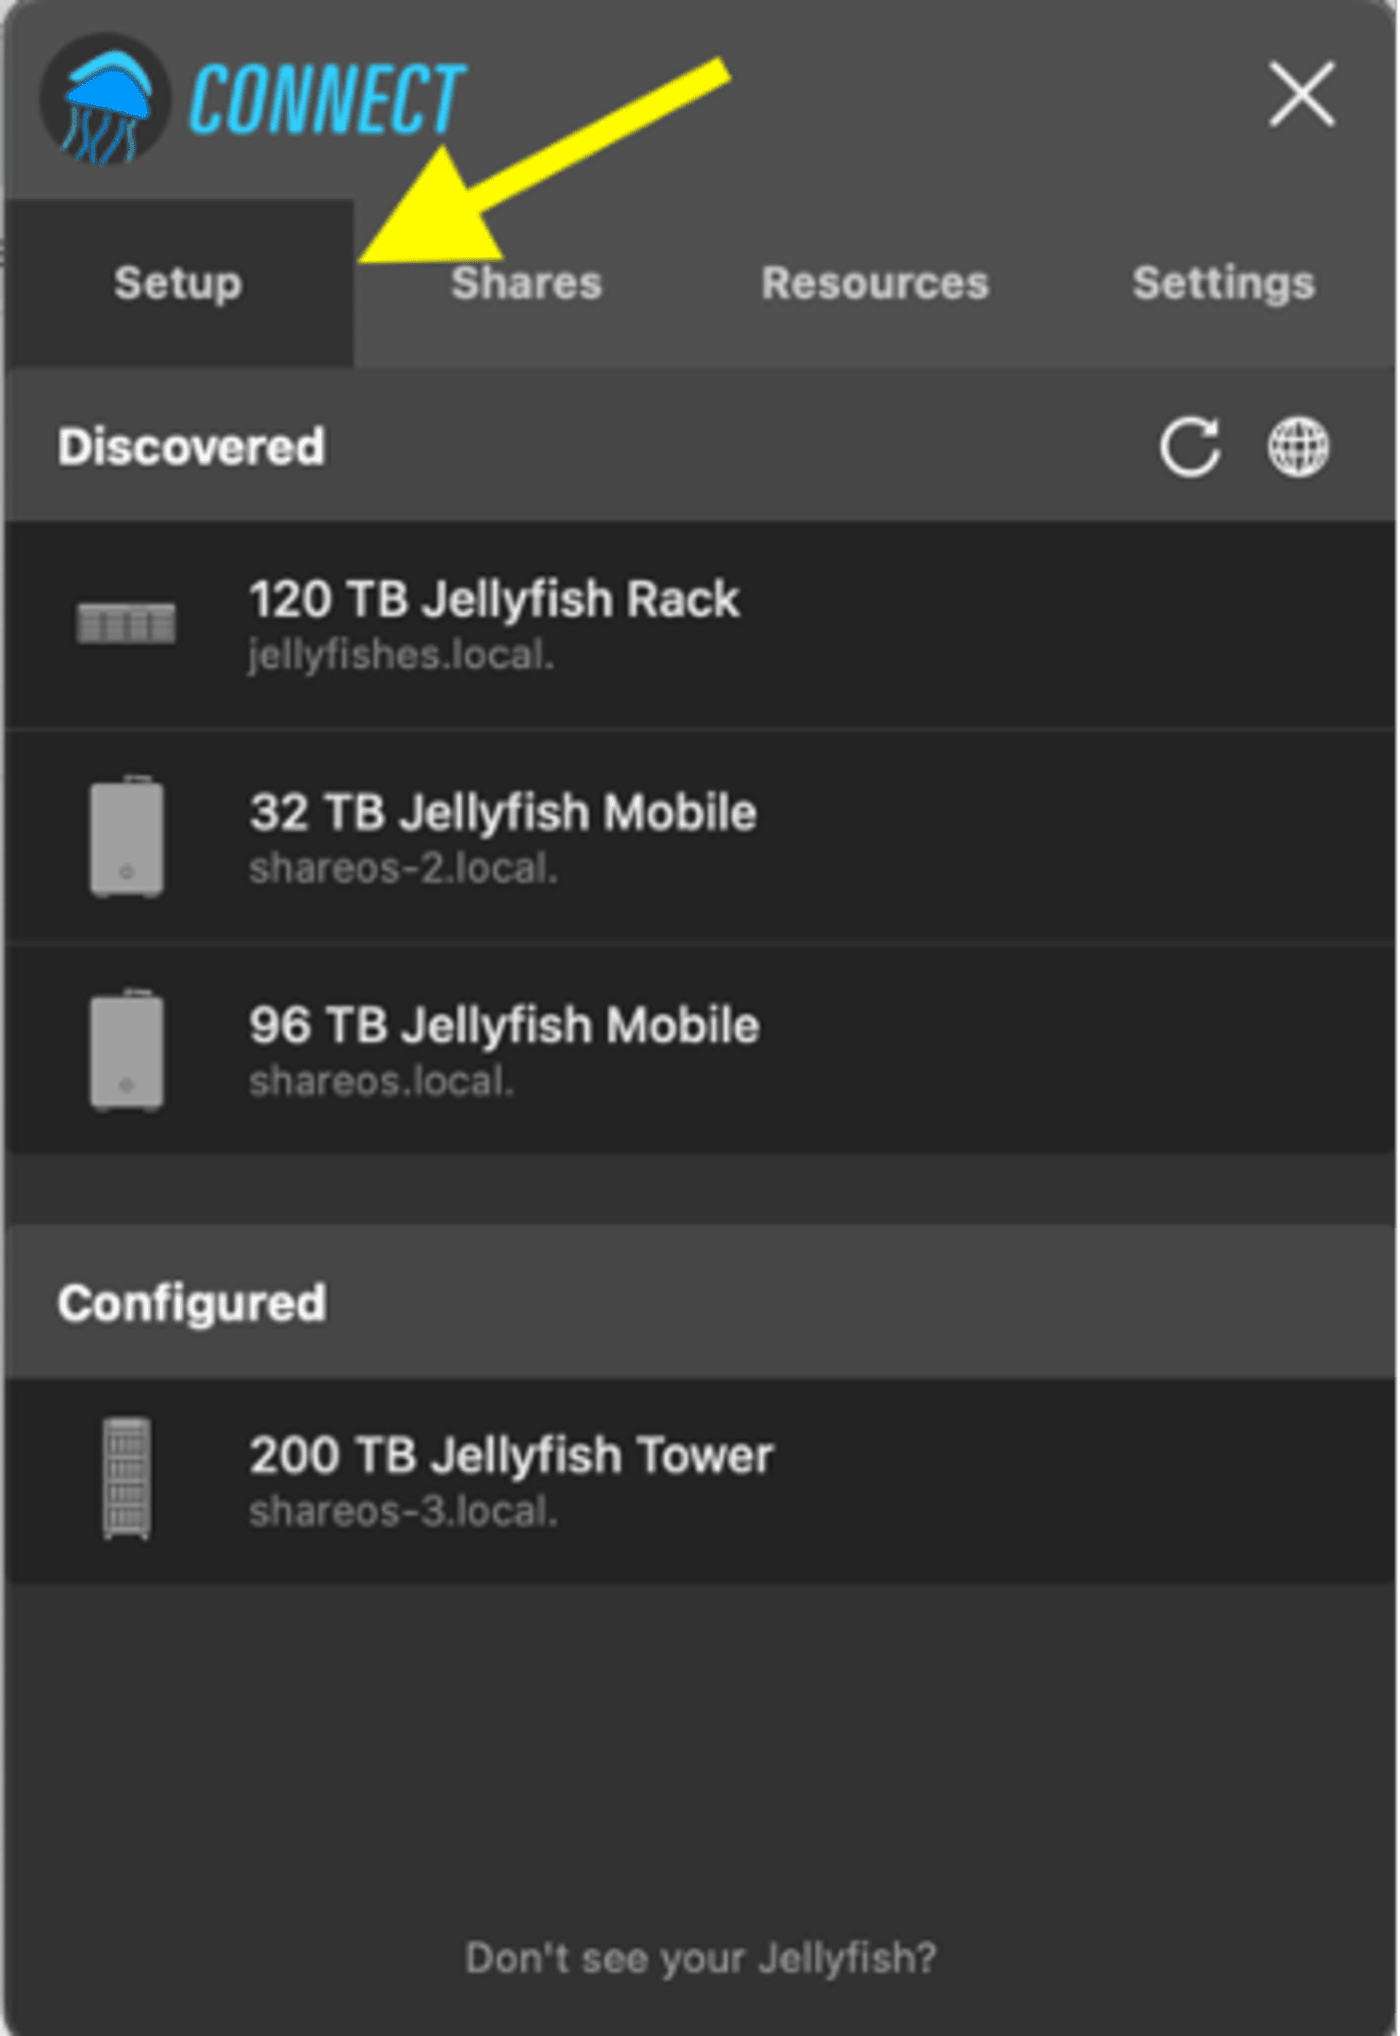
The Setup tab allows you to configure your OWC Jellyfish for the first time. When you click that, you’ll see two headings, Discovered and Configured. You’ll also see a circular arrow that refreshes this tab, as well as a globe that launches your Mac’s Network settings.
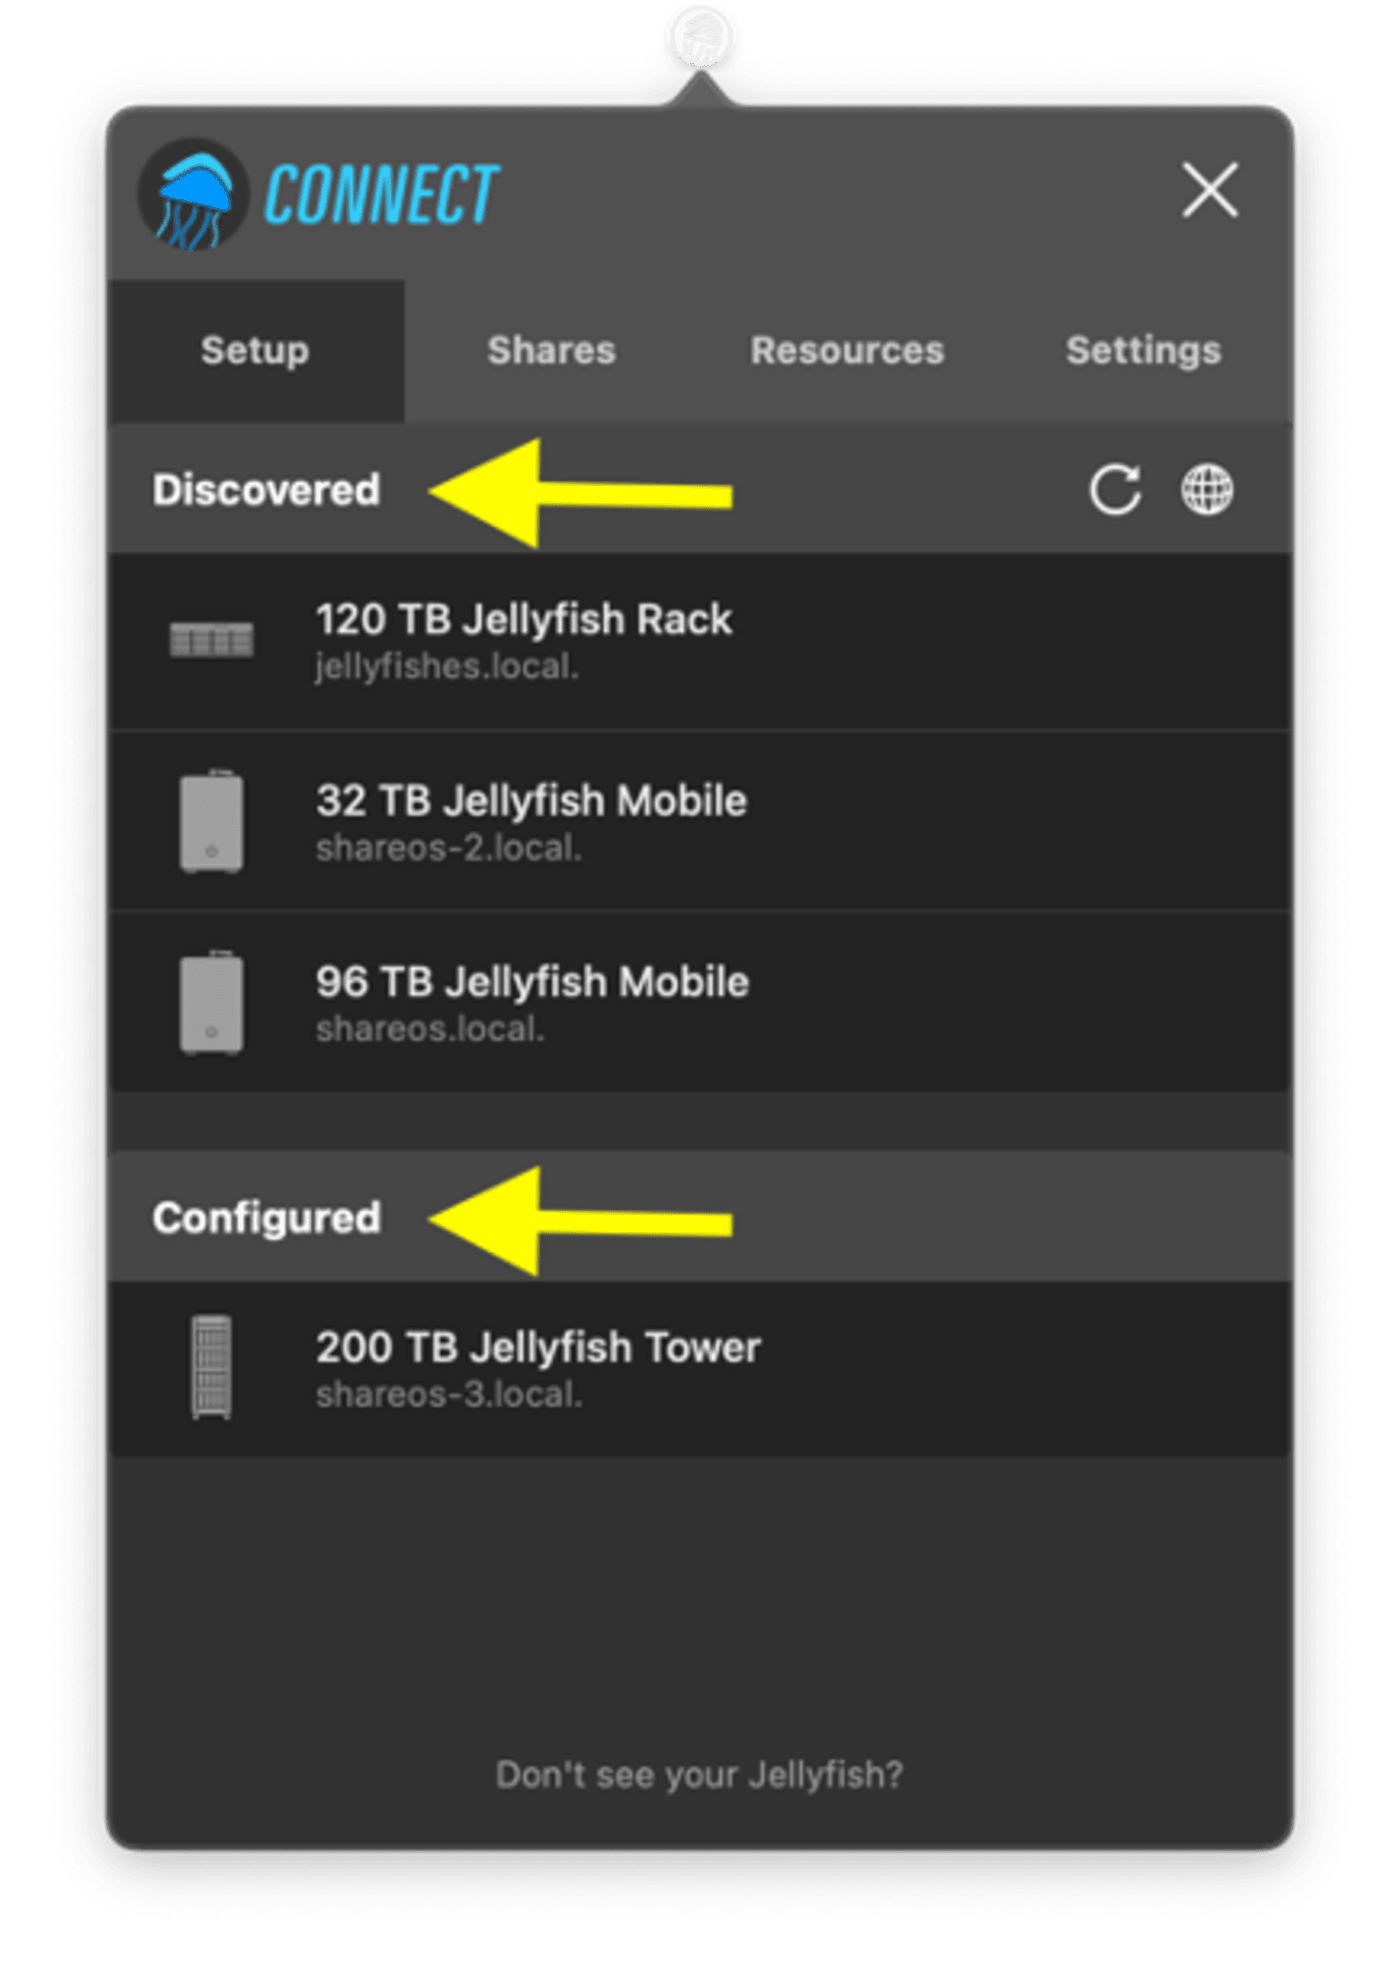

Discovered shows any OWC Jellyfish that is available to configure. Configured shows the OWC Jellyfish that has already been configured.
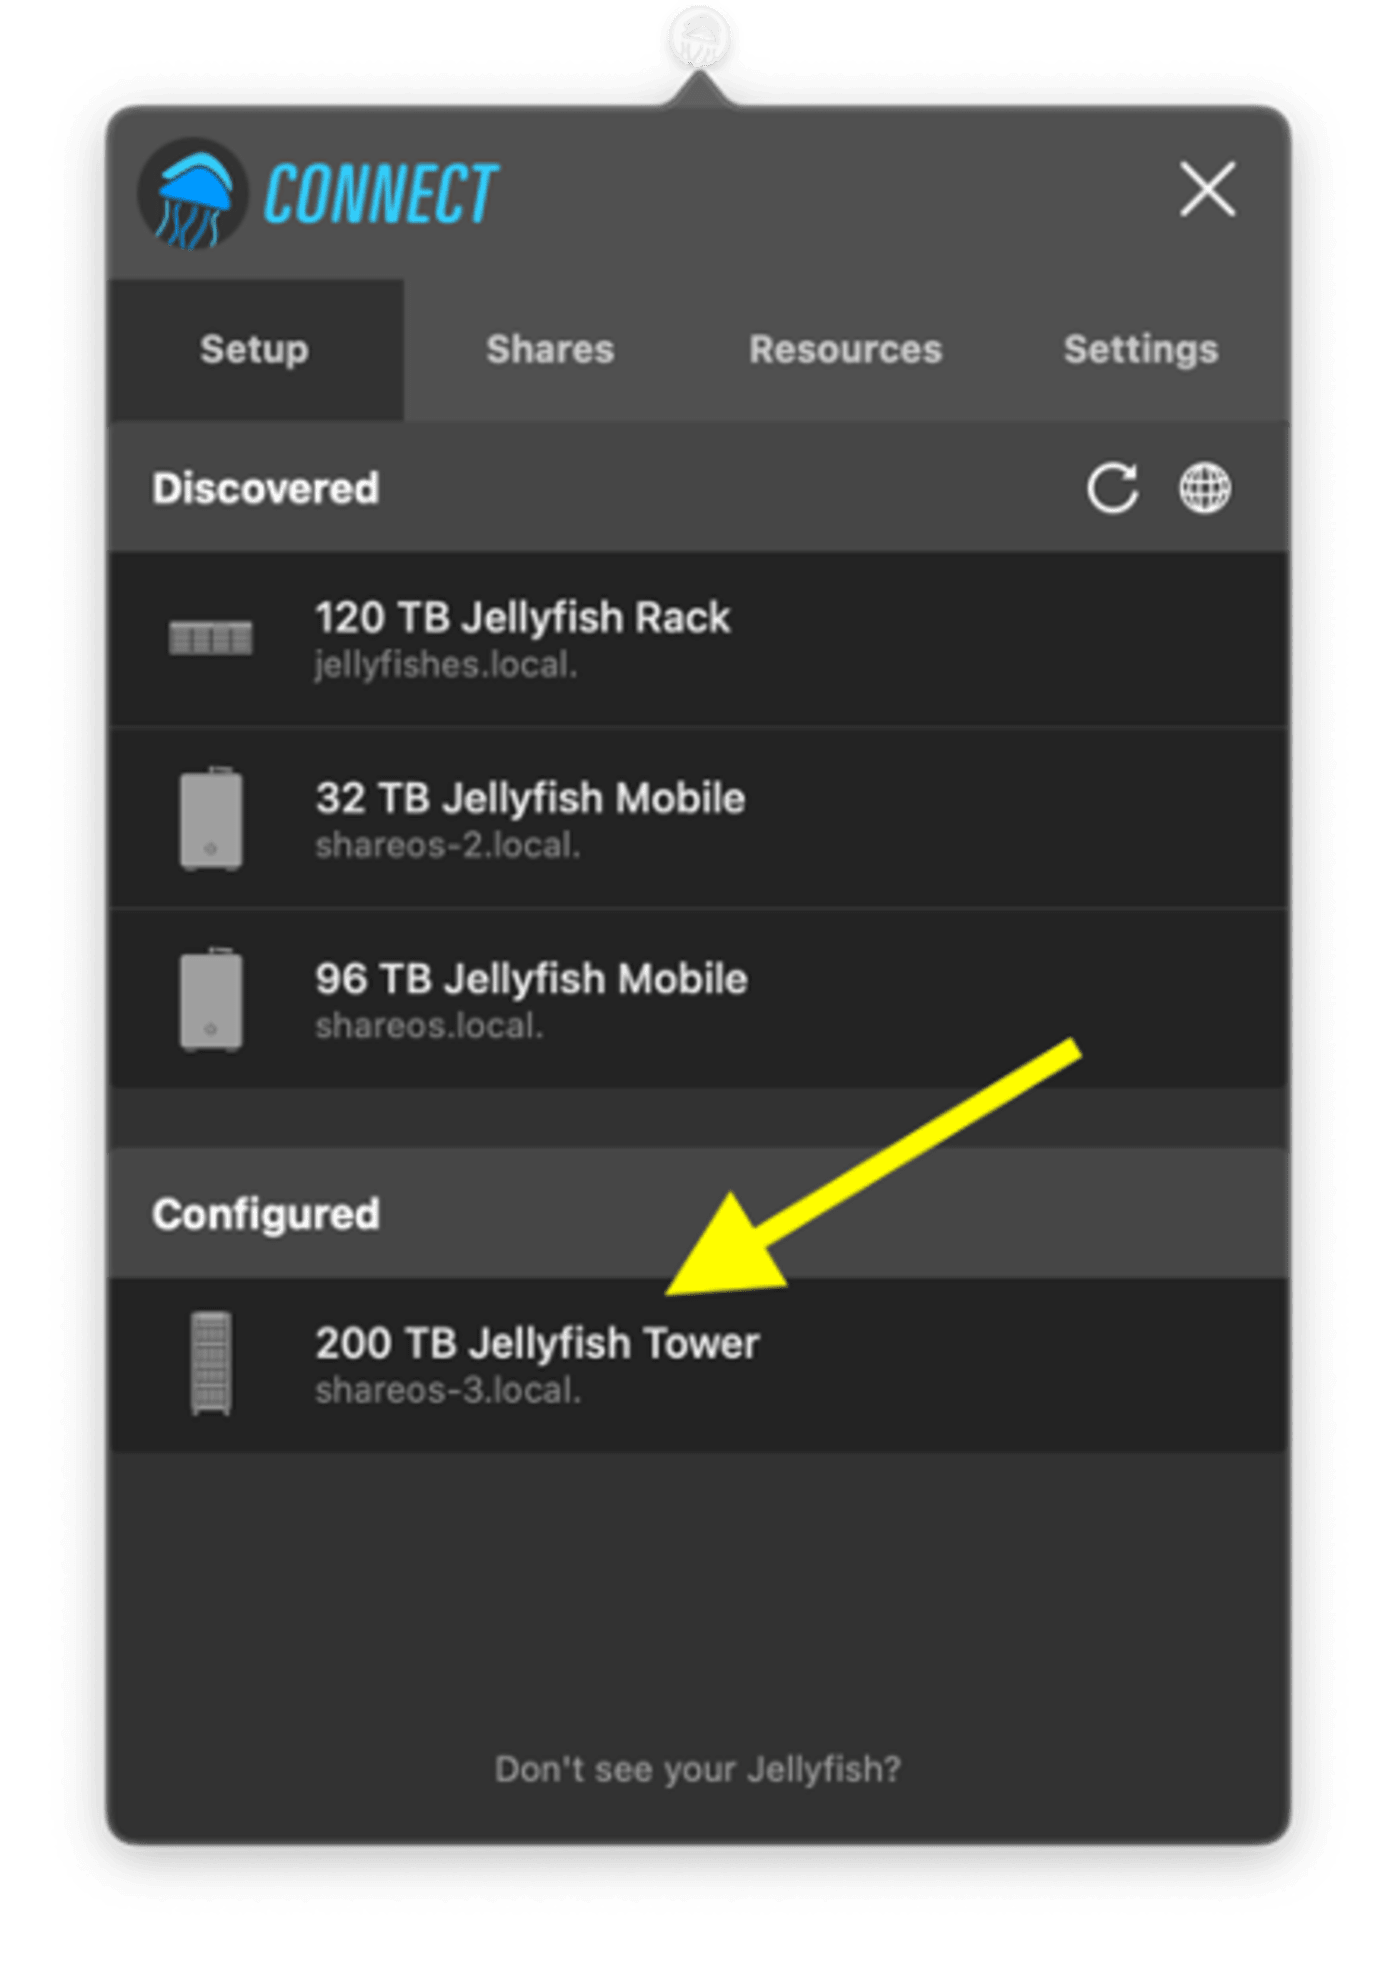
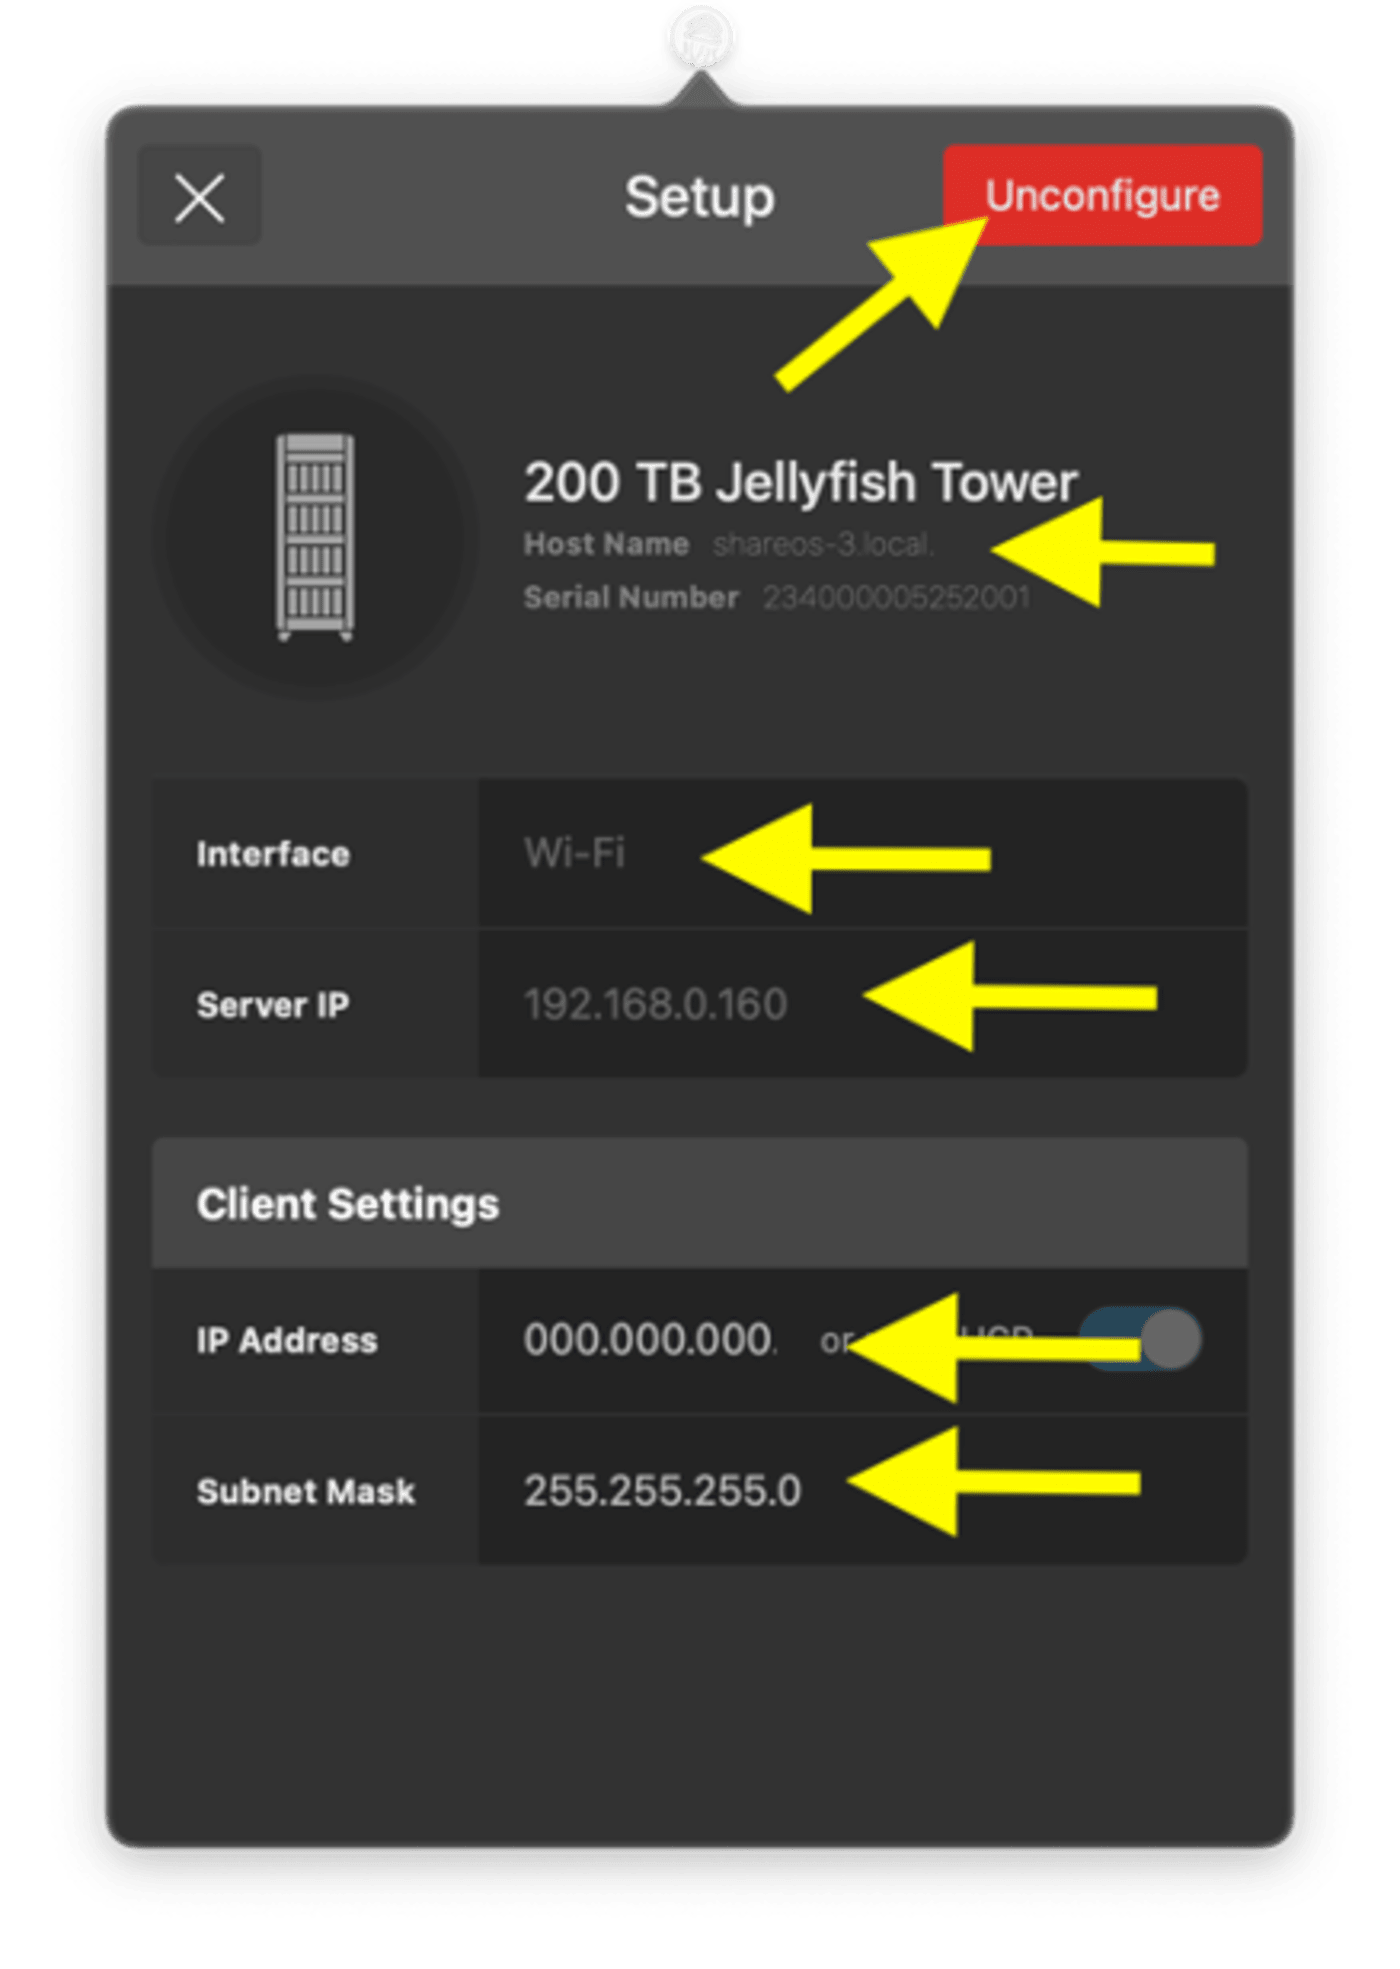
Once configured, if you click on the name of your OWC Jellyfish, this will open a panel that shows your OWC Jellyfish build, its IP address, serial number, as well as client-side IP Address and Subnet Mask. You’ll also see a red button at the top right of the panel to unconfigure should you ever need to, and an ‘X’ in the top left corner to exit this dialogue box.
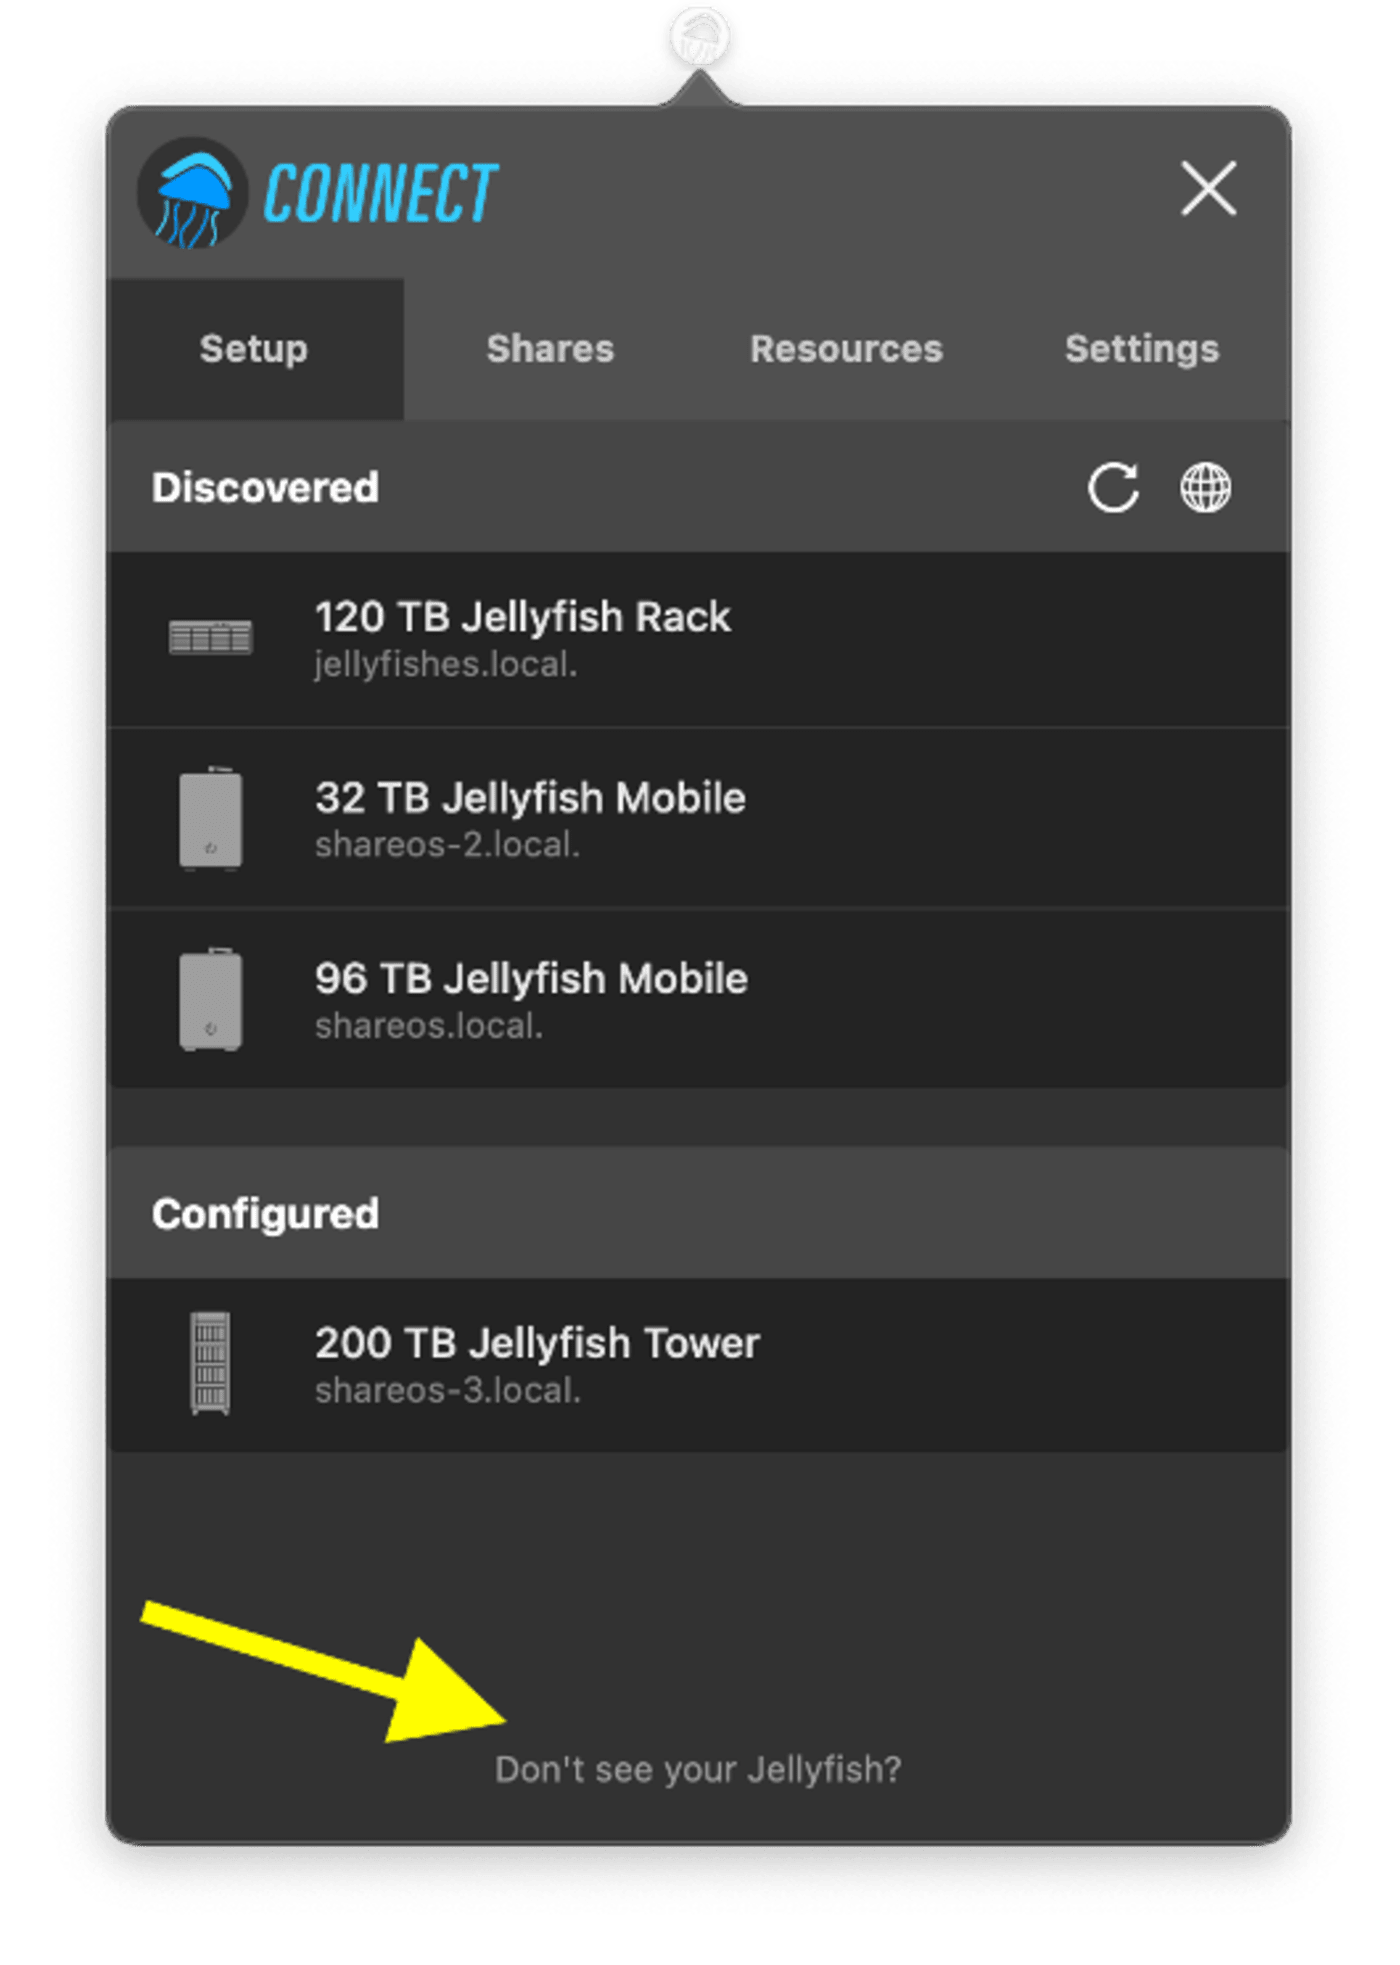
If you need to set up manually, click on Don’t See Your OWC Jellyfish? at the bottom of the setup panel, and this will launch a manual setup panel.
Here is a link to OWC’s step-by-step manual setup: Manually Set Up a Workstation Connection to OWC Jellyfish via a Switch.
Shares
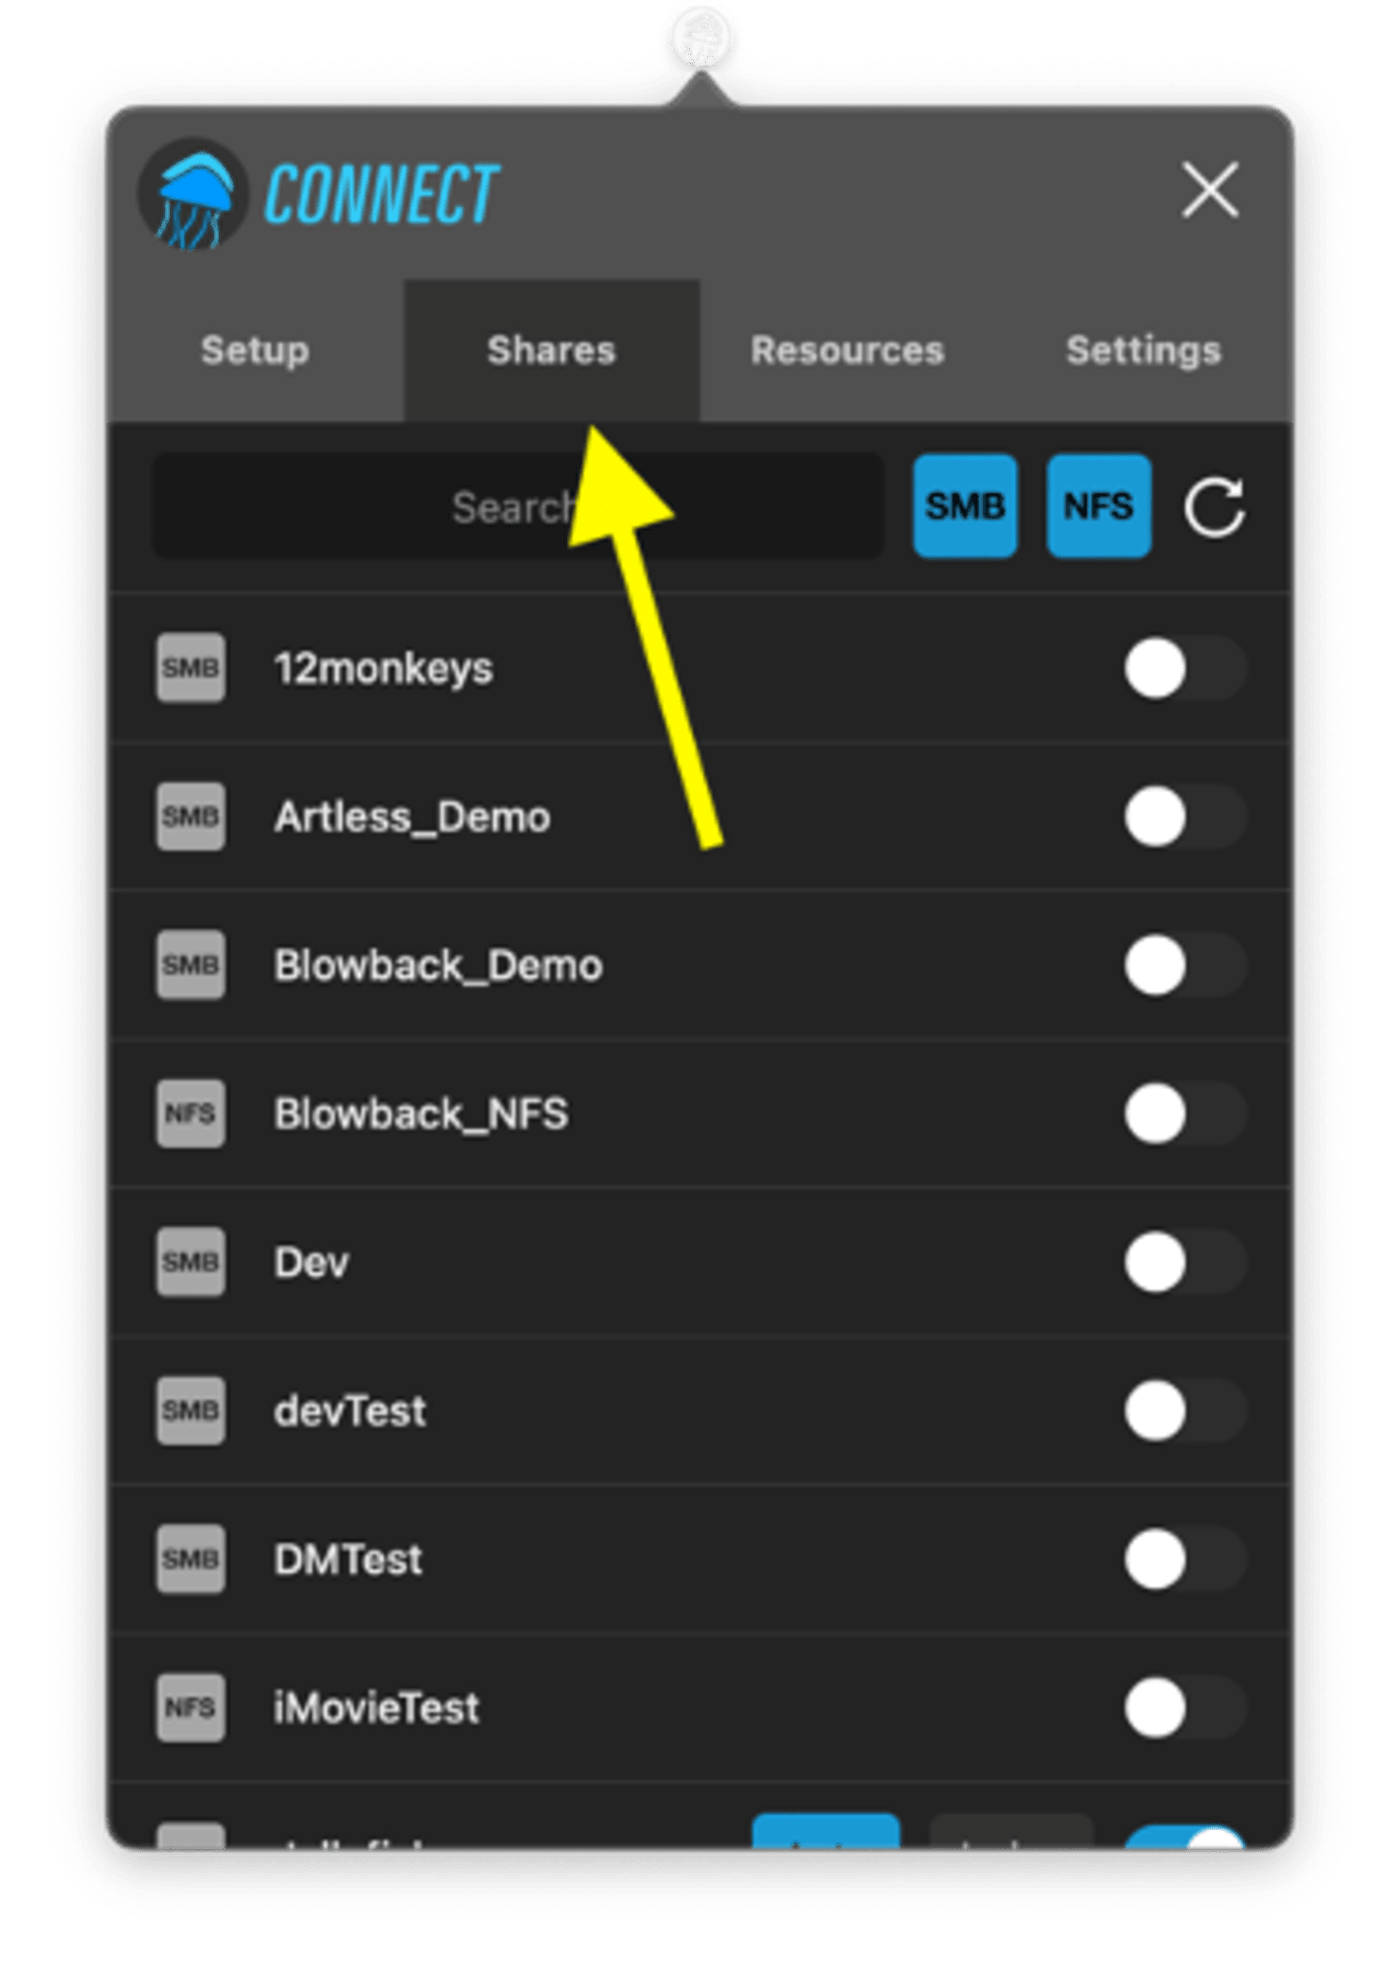
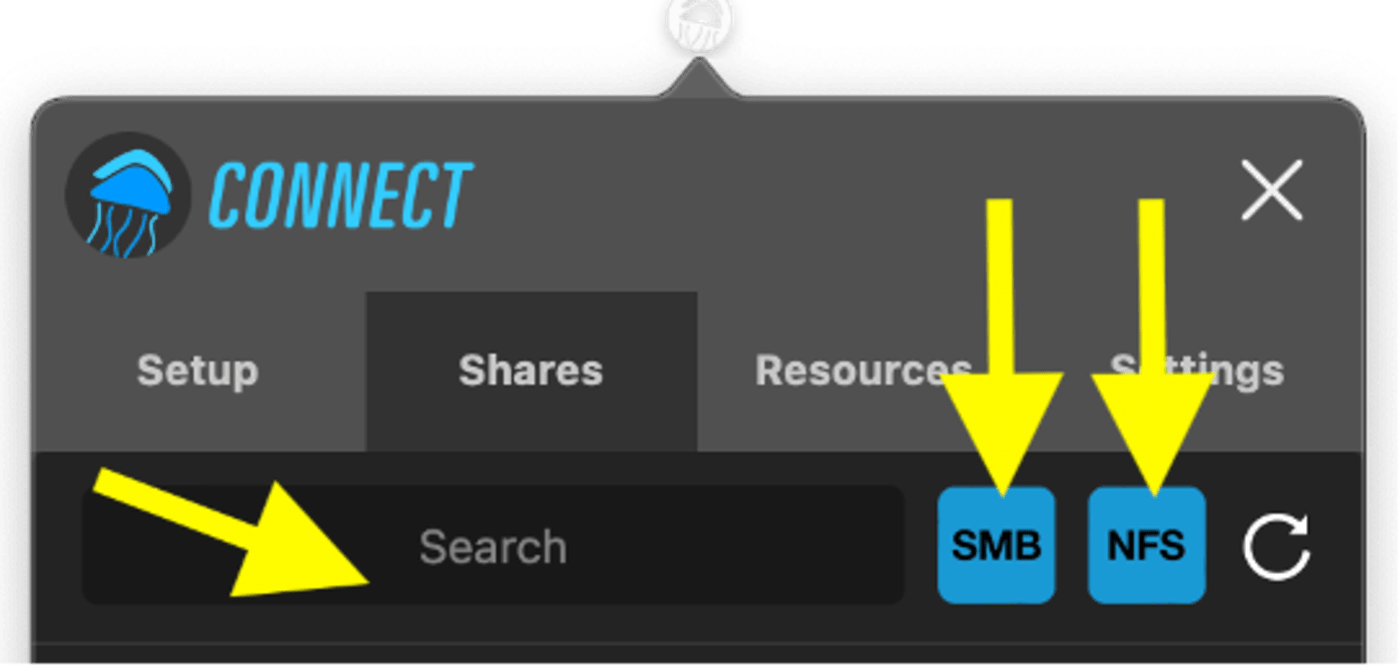
The Shares tab displays the shares on your OWC Jellyfish, a toggle switch to mount/unmount each share. There is a Search bar for users with a higher number of shares, toggles to display SMB and/or NFS, as well as a refresh button.

Your OWC Jellyfish ships with two shares already set up: Jellyfish and J-Cache. If you click the toggle switch next to each share name, the share will mount on your Mac. When prompted for a username and password, you can enter the default credentials that ship with your OWC Jellyfish, or your your own credentials if you’ve already completed this step. Toggling on the mounting button will bring up two additional buttons for the selected share: Auto and Index. Selecting Auto is recommended. While selecting Index will give you greater indexed search options within your share, it slows down your access considerably. Clicking the Refresh arrow at the top will quickly repopulate your list, where you can double check to see that any new changes you’ve selected have taken place.
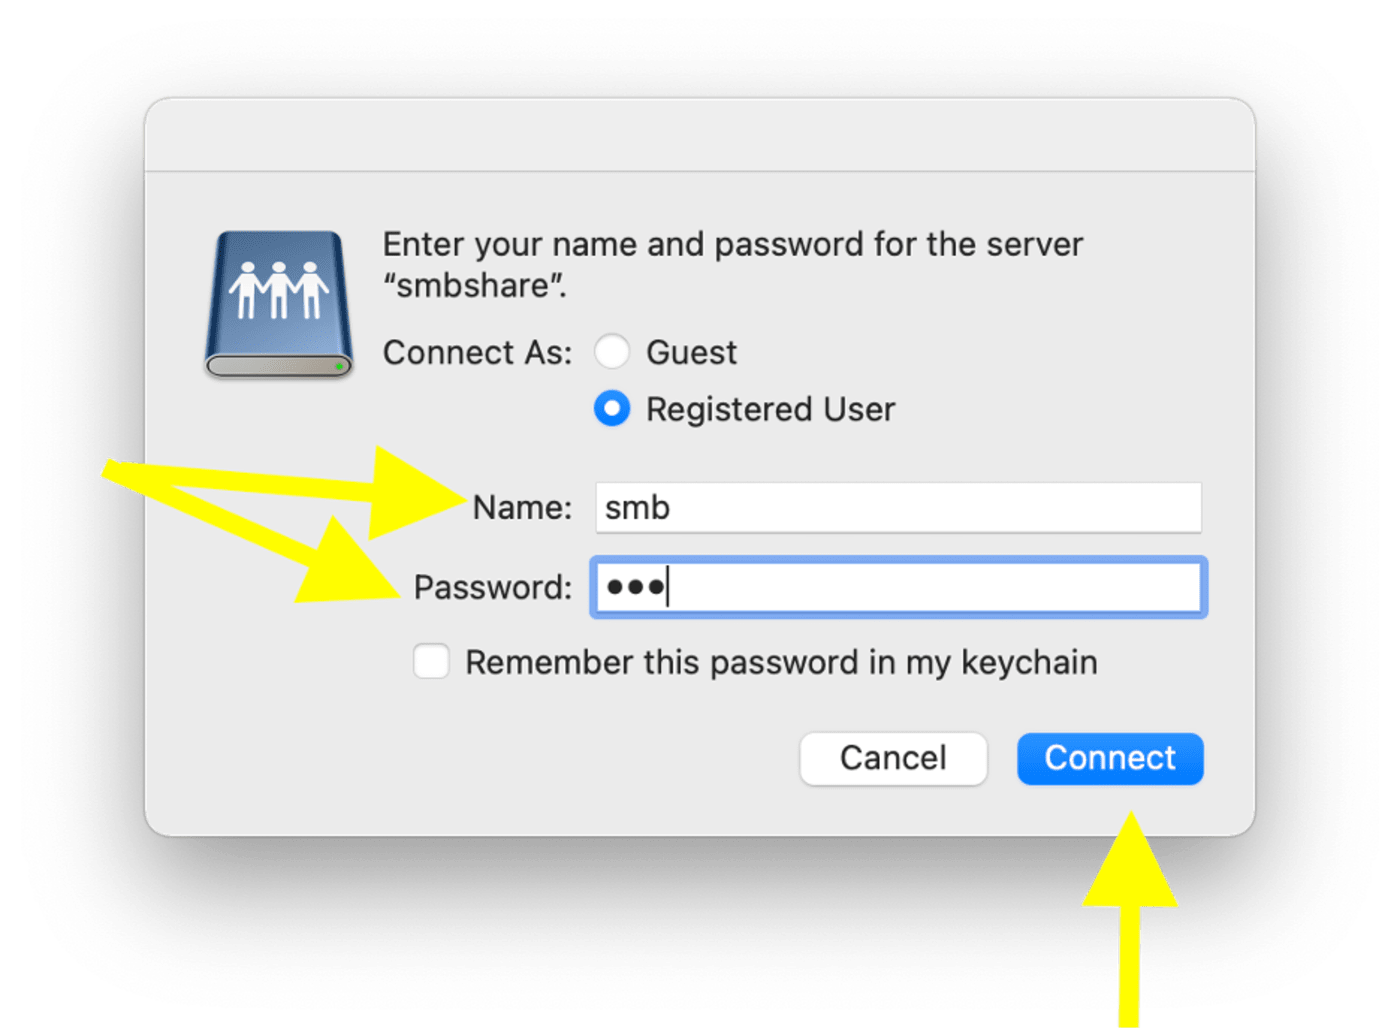
The initial login credentials to mount the OWC Jellyfish and J-Cache SMB shares are:
Username: smb
Password: smb
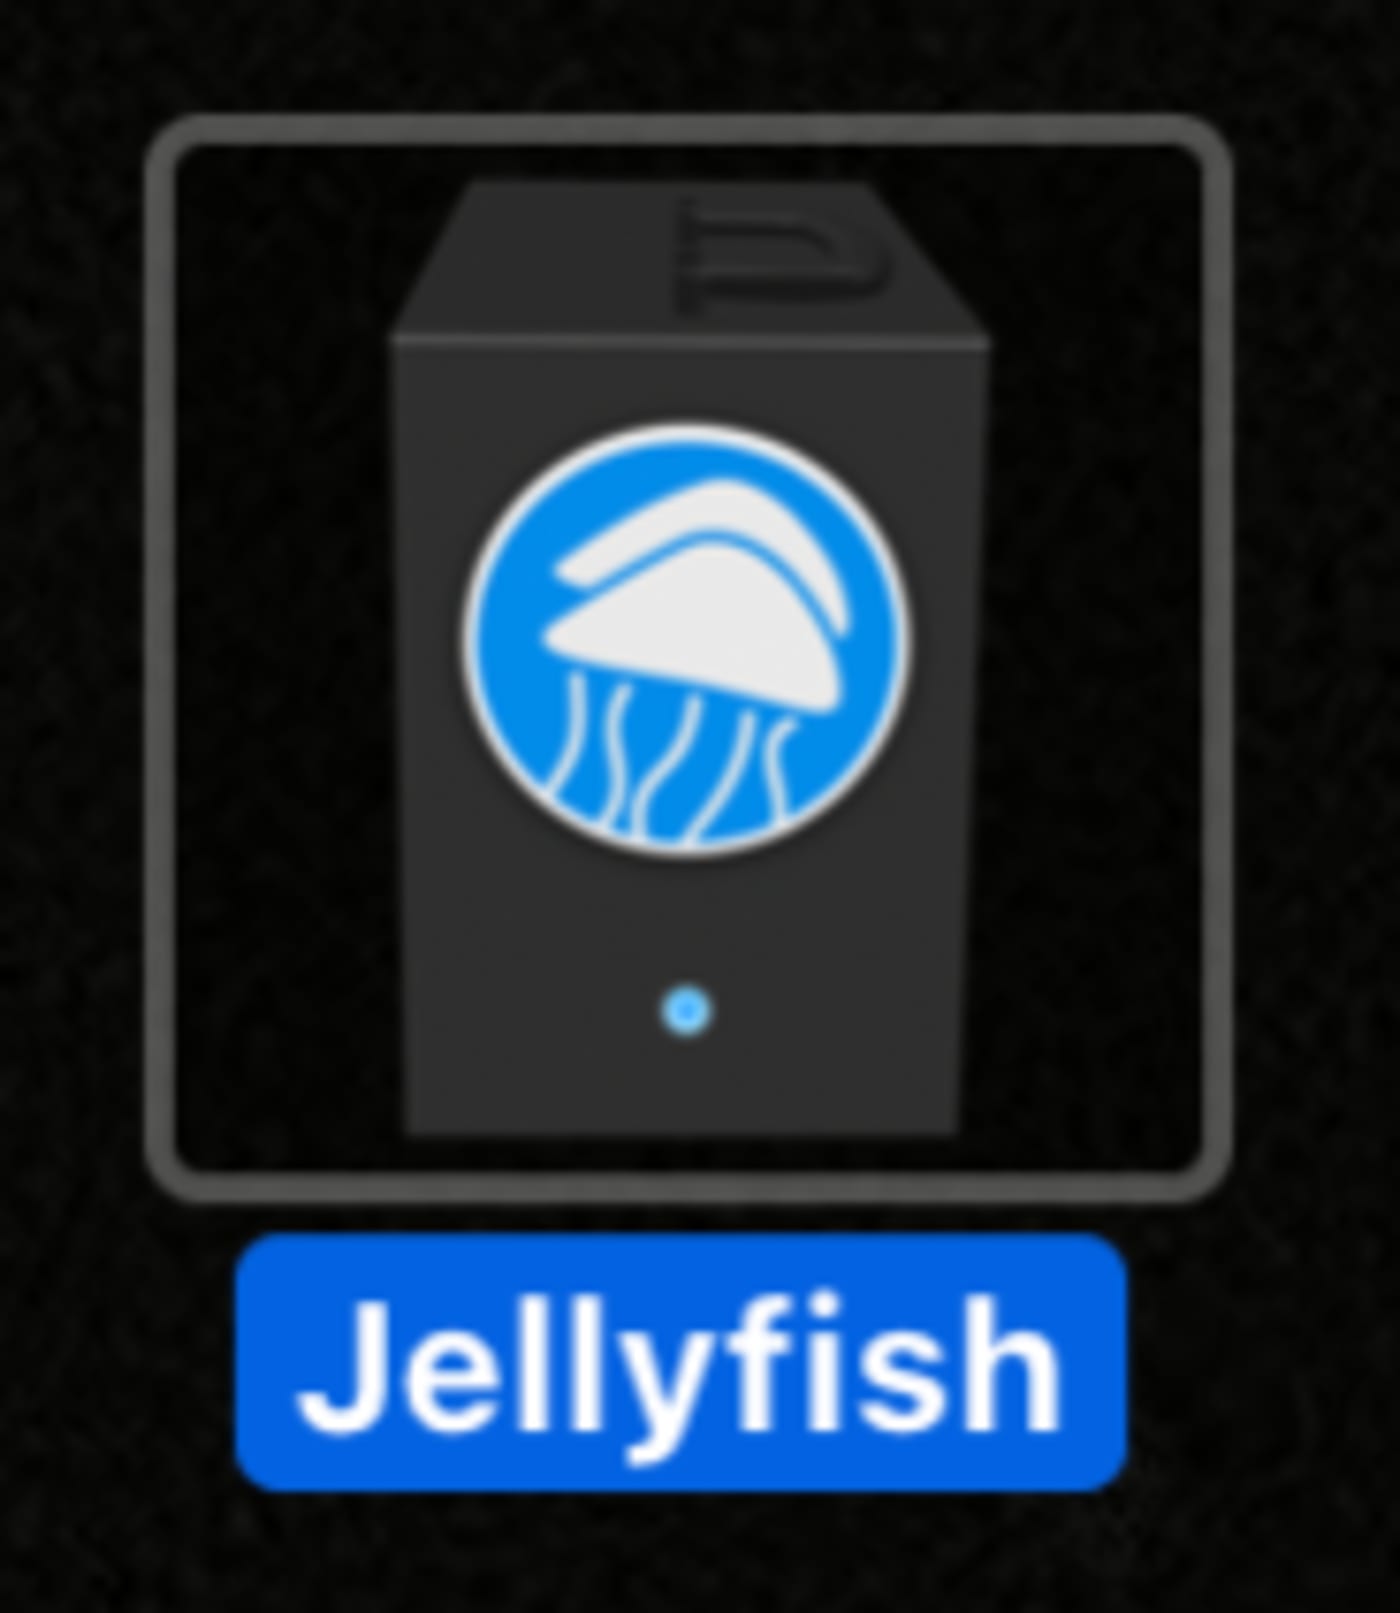
You’ll see the OWC Jellyfish icon appear on your desktop when this is successfully completed. You can use this icon like you would any folder on your computer: drag and drop items into the OWC Jellyfish share and organize it any way that suits your workflow.
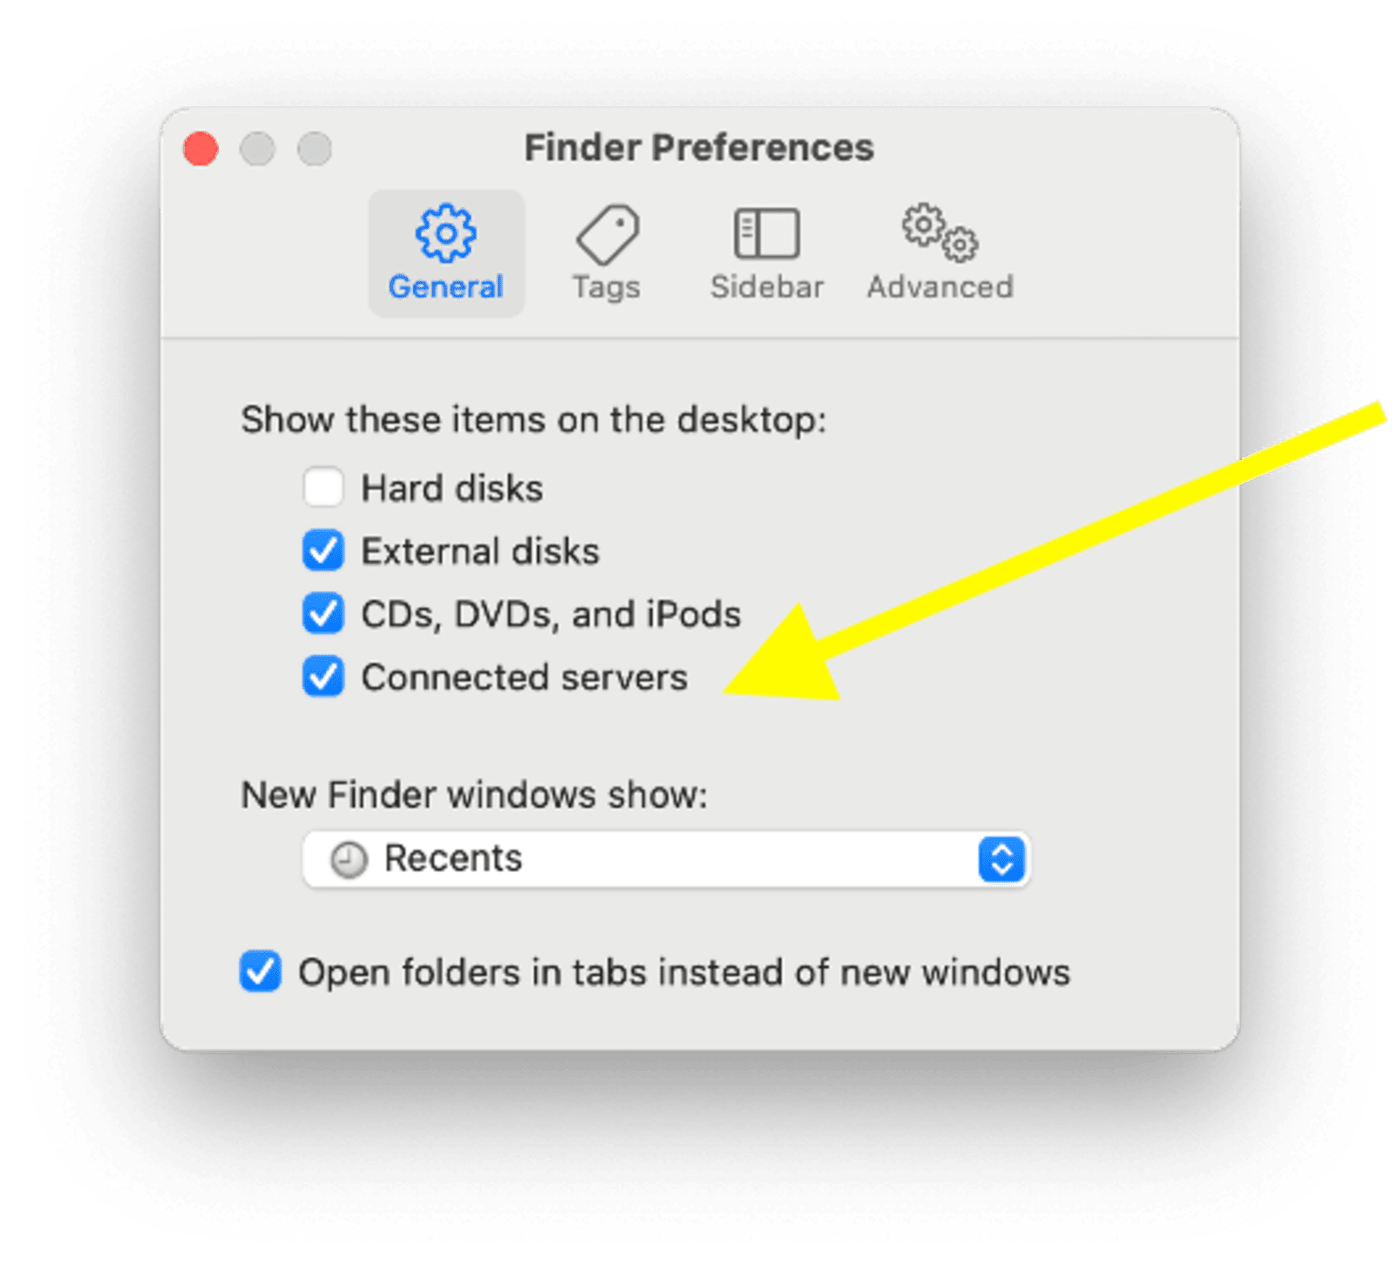
If it does not appear, you may need to adjust a simple setting in Finder. Open Finder’s Preferences dialogue and be sure to select “Connected servers” under the General tab.
Resources
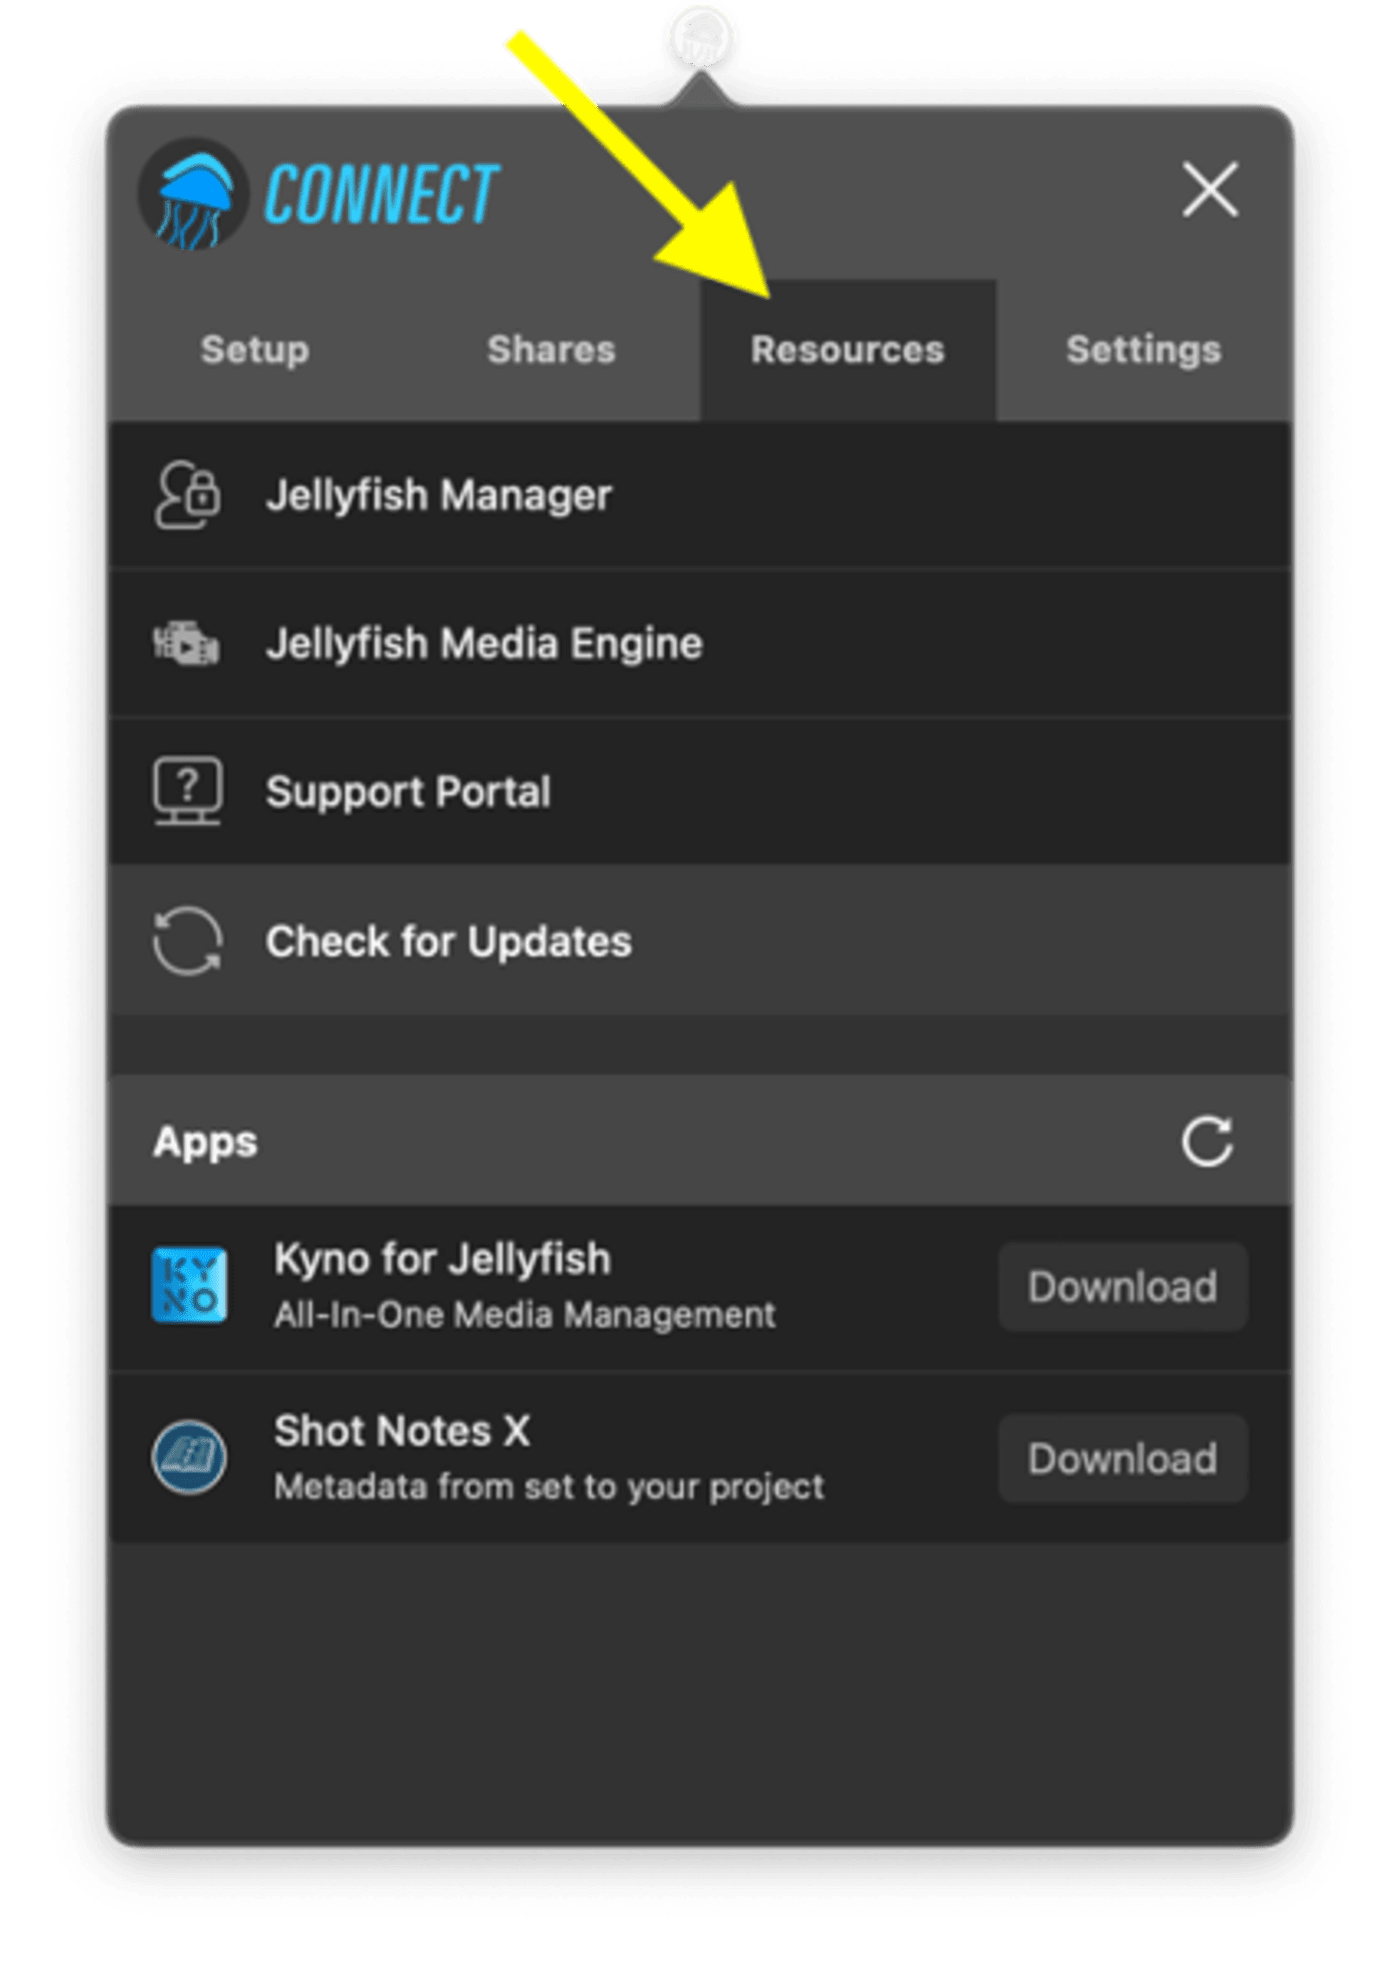
The Resources tab will help you with setting up further access for you and your users, integrate separate apps, and update your OWC Jellyfish software. There is a list of selections that will launch separate windows, and then an Apps heading, with a Refresh arrow.
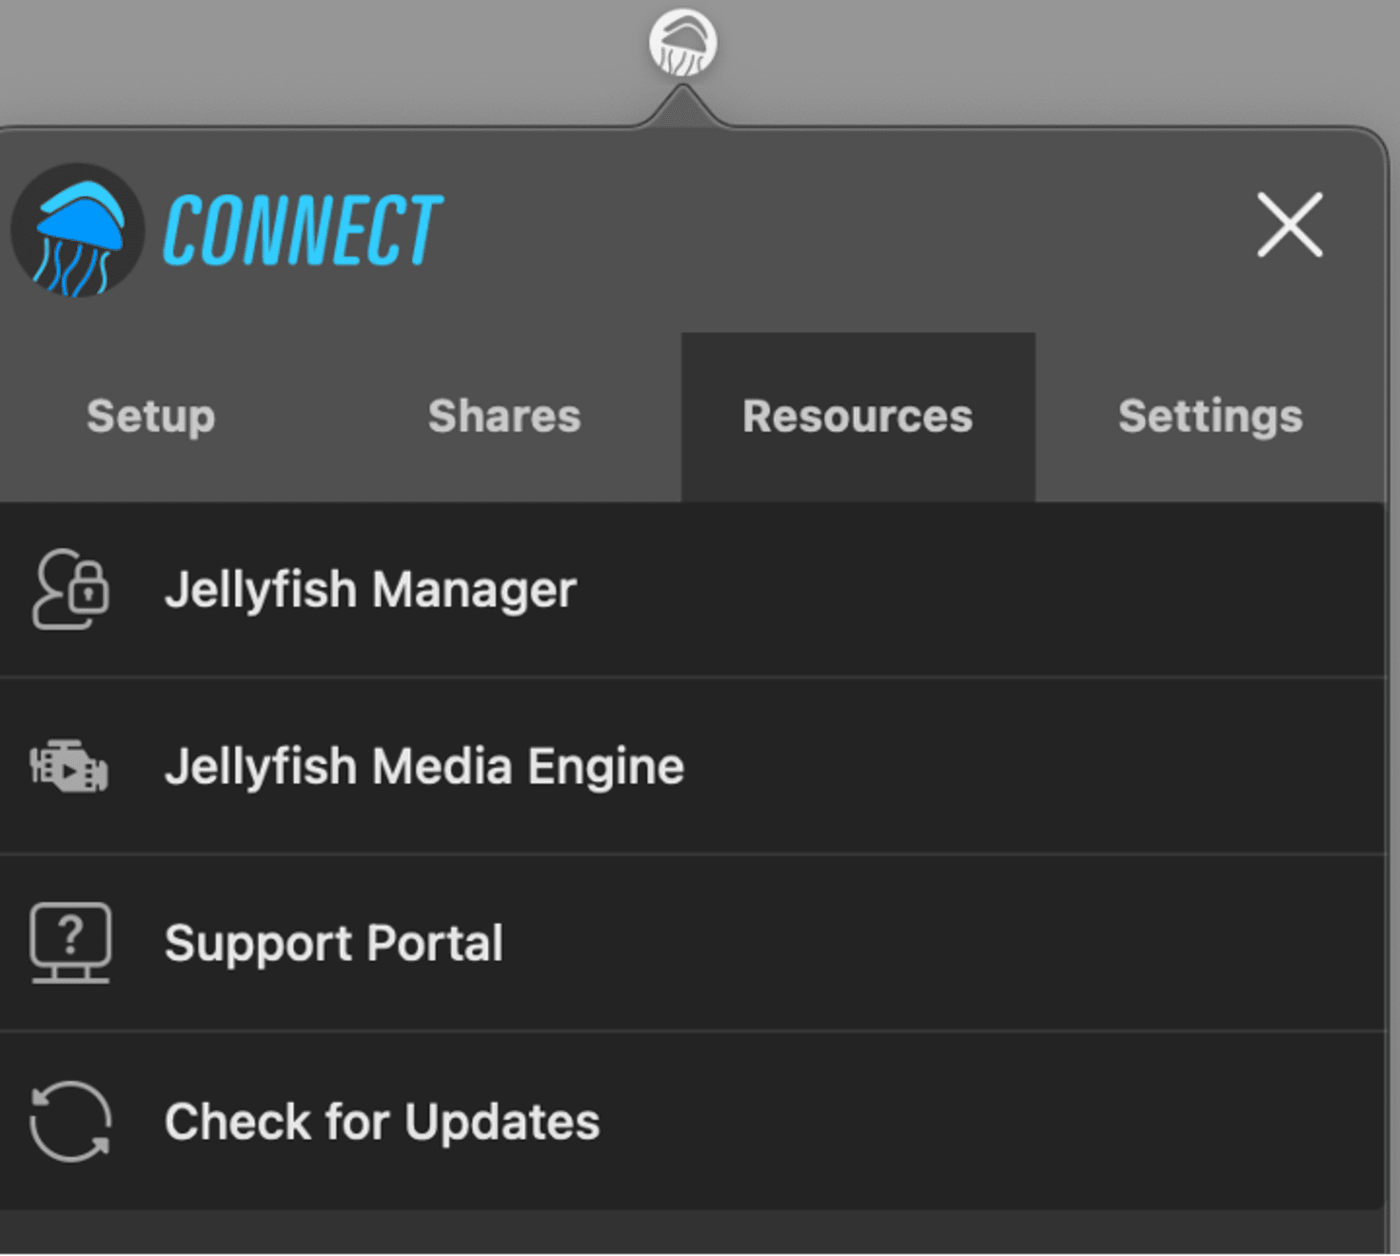
The first selection is OWC Jellyfish Manager. OWC Jellyfish Manager primarily for anyone on the administrative side of your workflow. Here you can create usernames, set passwords, grant share access, and check on the health of your OWC Jellyfish. Clicking this will launch the login page for OWC Jellyfish Manager in your browser, where you will use dummy credentials before creating your own unique username and password. We will dive further into OWC Jellyfish Manager in its own article.
The initial login credentials for OWC Jellyfish Manager are:
Username: main
Password: luma
The second selection in the Resources tab is OWC Jellyfish Media Engine. This will launch Media Engine in your browser. Media Engine is a free proxy tool included with your OWC Jellyfish. Be sure to check out our video tutorials that demo how to use this application.
Support Portal launches the OWC Jellyfish support page in your browser. In this central help center, you can access our many support articles, grouped by topic and searchable within each respective category. You’ll also find links to helpful video tutorials and a link to contact our team for any assistance you may need beyond any of the documentation library.
Check for Updates gives options to view any updates available. If you see a notification that says you have an update available, please reach out to our support team to request your OWC Jellyfish update in our support portal: Contact
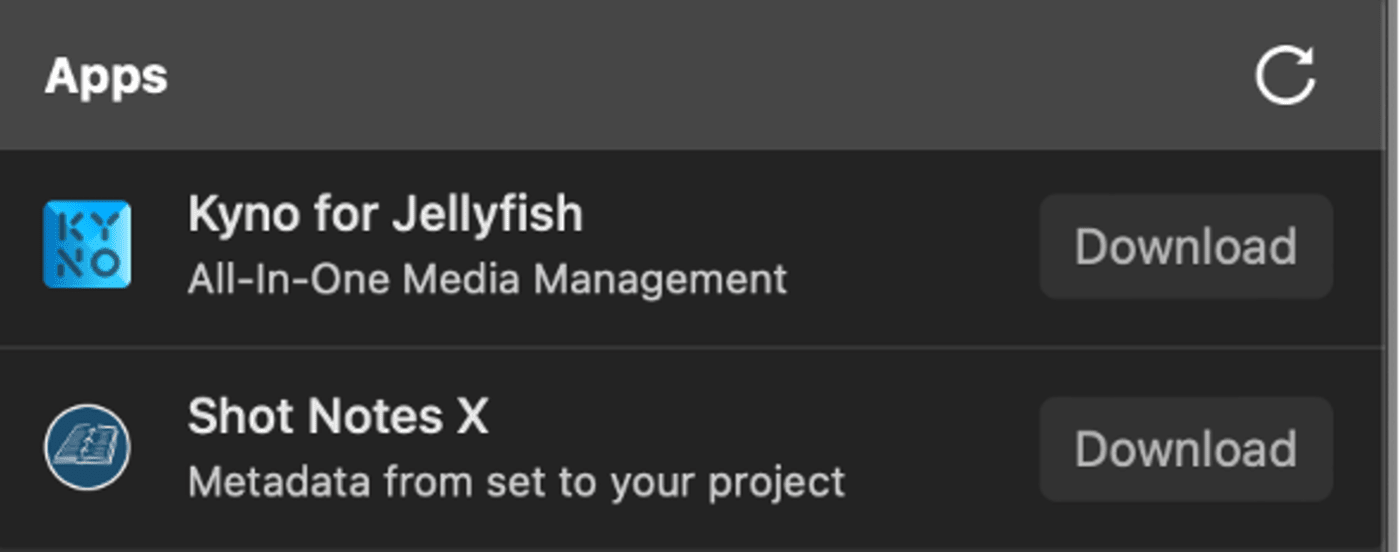
The Apps heading lists available apps that work seamlessly with your OWC Jellyfish. The Refresh button updates that list. You should see entries for Kyno for OWC Jellyfish, an all-in-one media management tool, and Shot Notes X, a metadata manager that is designed only if you are using FinalCut Pro.
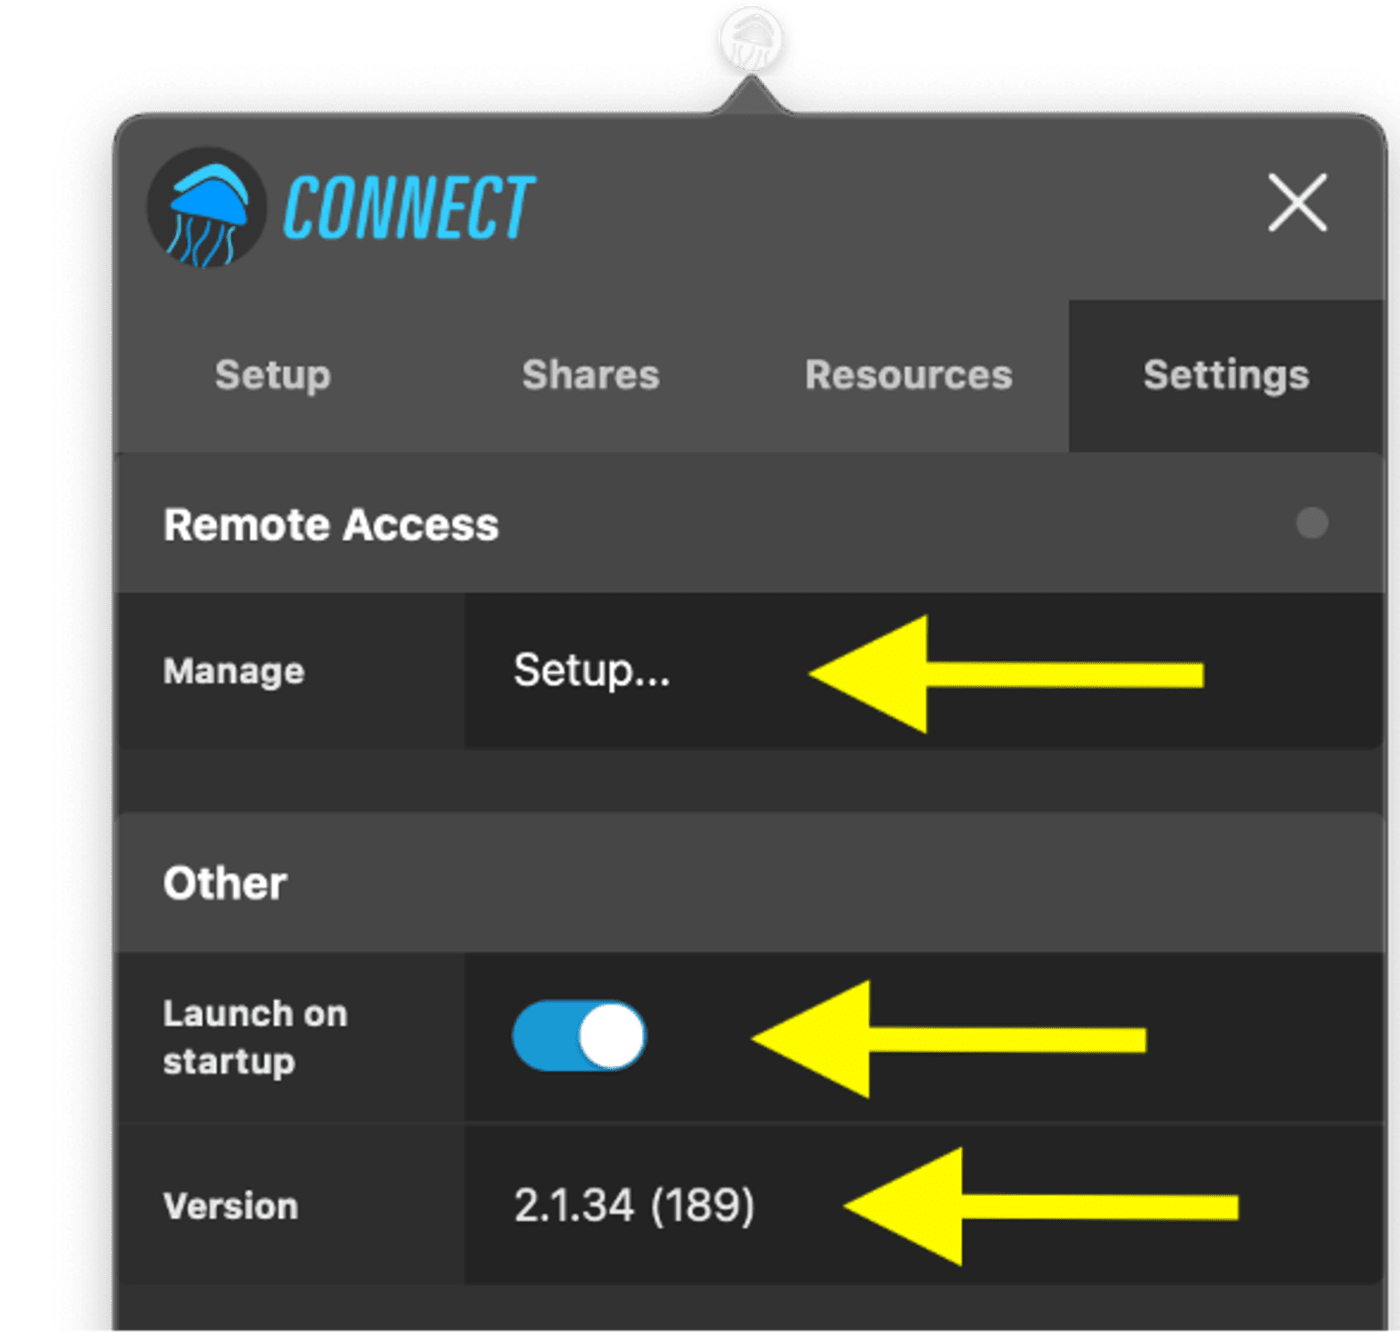
Settings
The Settings tab is where you would set up and configure your remote access when ready. Other than managing that, the only other setting you’ll find here is a toggle button on whether you would like OWC Jellyfish Connect to launch when you start up your computer. Lastly, this tab displays which version of the OWC Jellyfish Connect app you are using, which will come in handy if ever troubleshooting.