

Connect your Windows Workstation to Your Jellyfish
To connect your Windows PC to your Jellyfish, you need to know which Jellyfish port you are plugged into. Every Jellyfish port comes with a preconfigured static IP. To find out which Jellyfish port you’re connected to, please reference this article below:
https://support.lumaforge.com/products/jellyfish/support/default-ports-configuration
NOTE: For most Windows workstations, you’ll need some sort of an adapter to plug the cable from the Jellyfish to your workstation. If your Windows machine has a built in ethernet port, you can skip ahead to step 14 to connect to the shares on your Jellyfish.
In our example, our Windows machine is connected to Jellyfish port 1, so the IP of this port is 172.27.1.250, we will use this IP information shortly. The adapter we will be configuring is an ethernet to USBC dongle.
Configure your adapter with the Jellyfish:
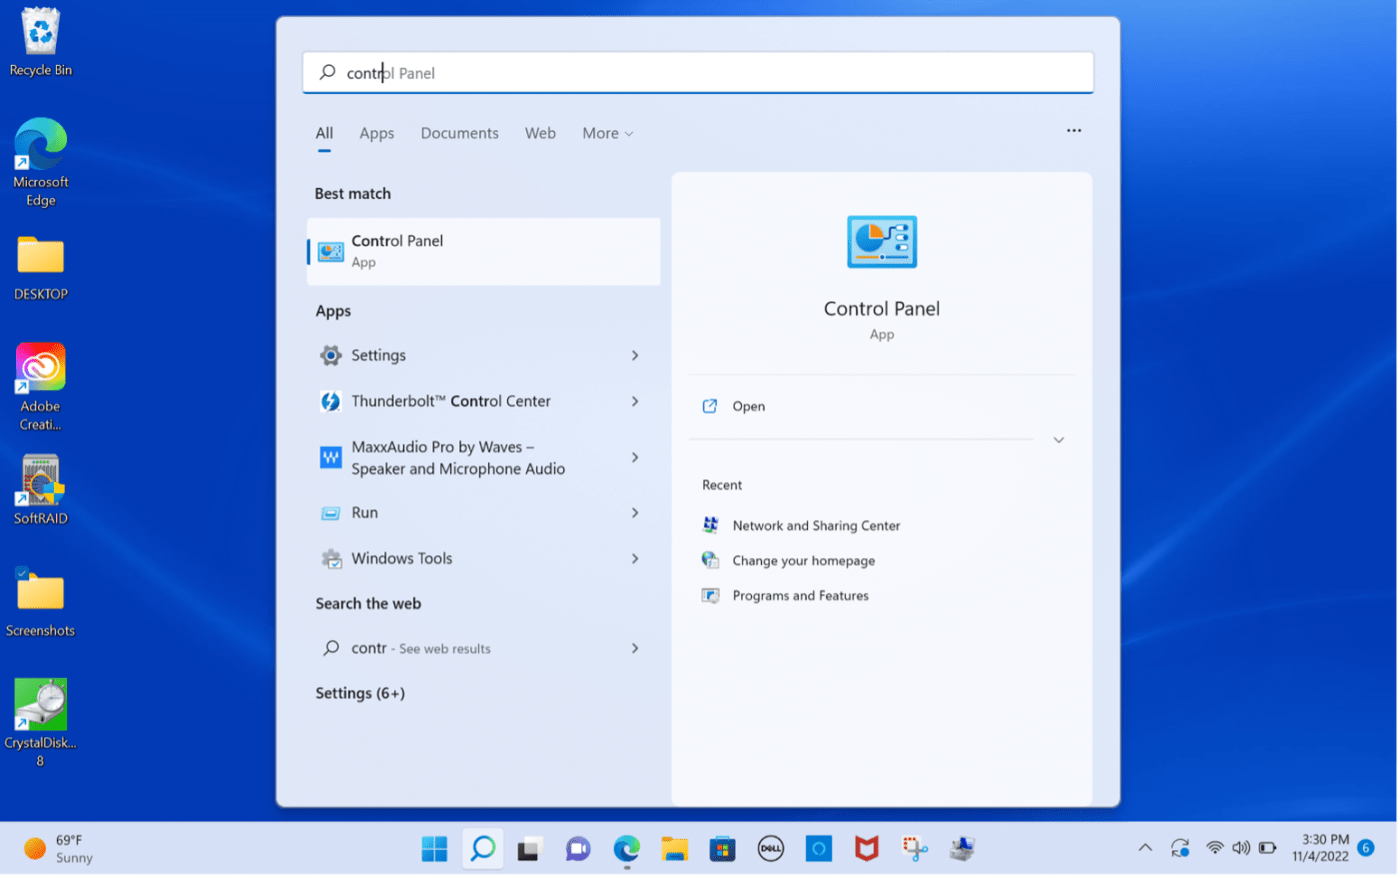
1. Press the 'Start' button at the bottom menu bar. (looks like a 4 square window)
2. Type ‘Control Panel' in the search bar and click the on the ‘Control Panel’ app
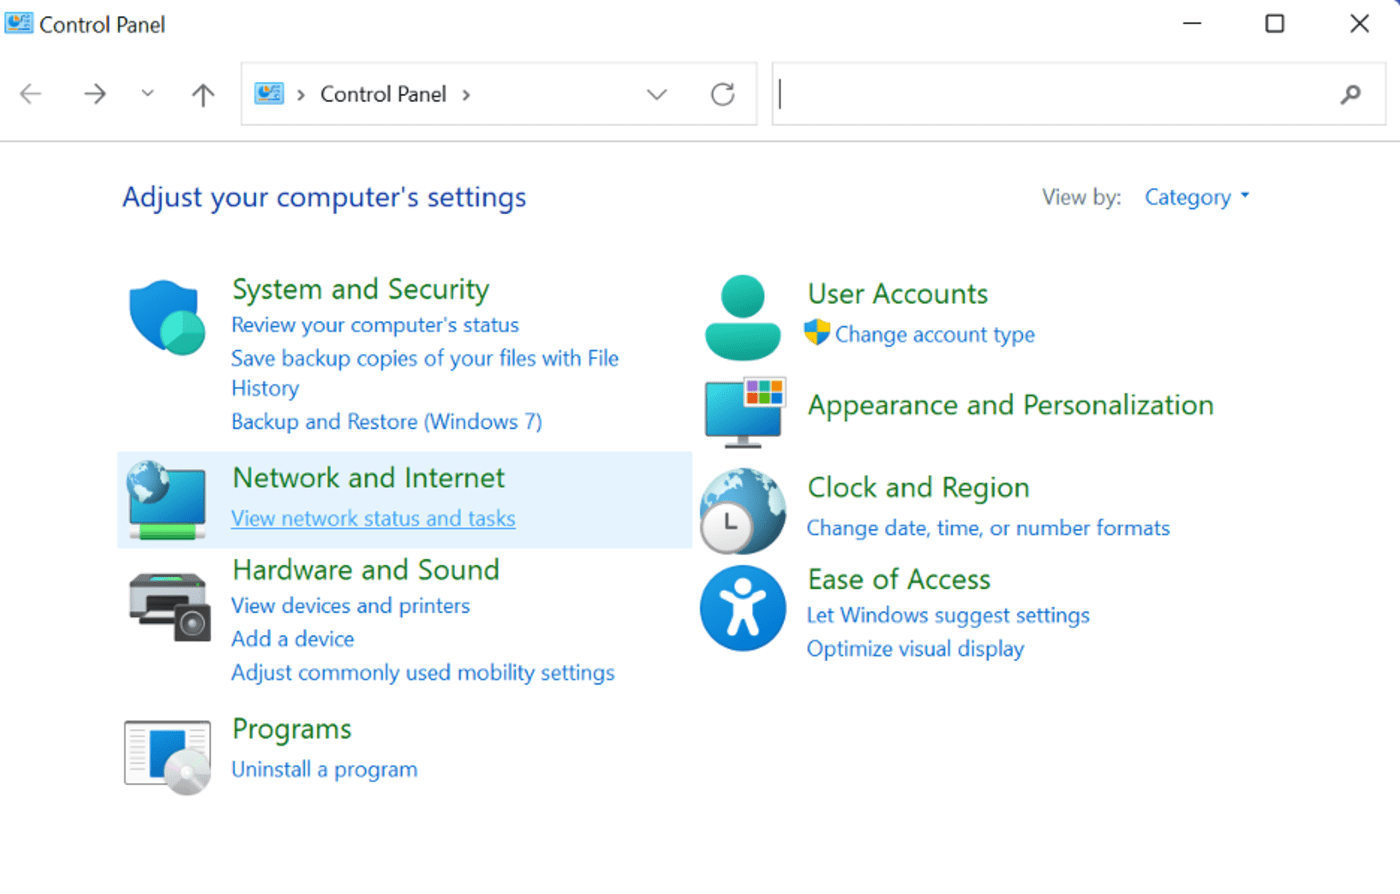
3. Click 'Network and internet'
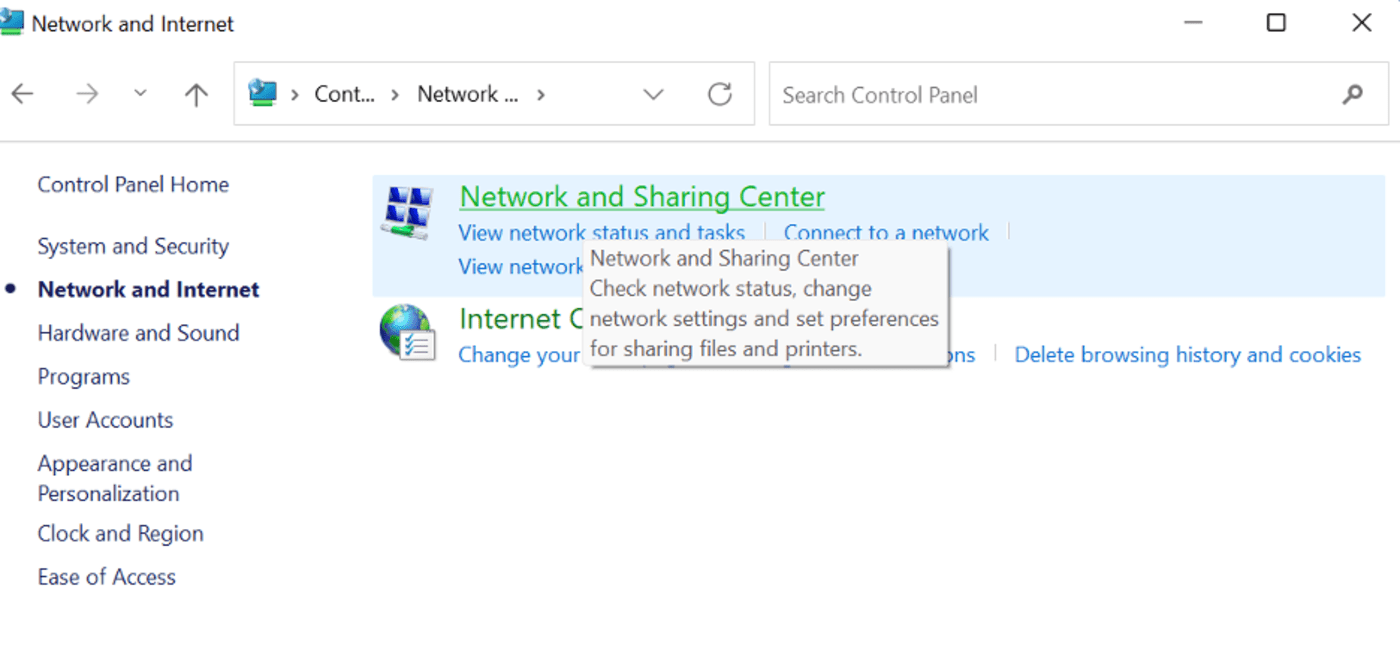
4. Click 'Network and Sharing Center'
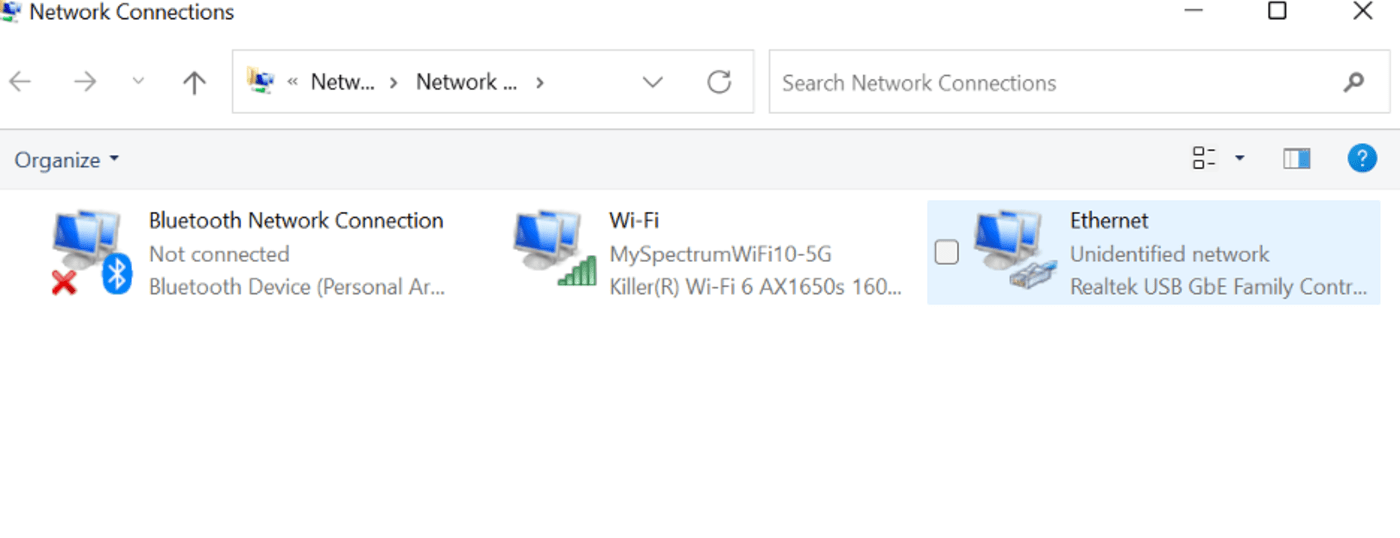
5. Click on ‘Change adapter settings‘
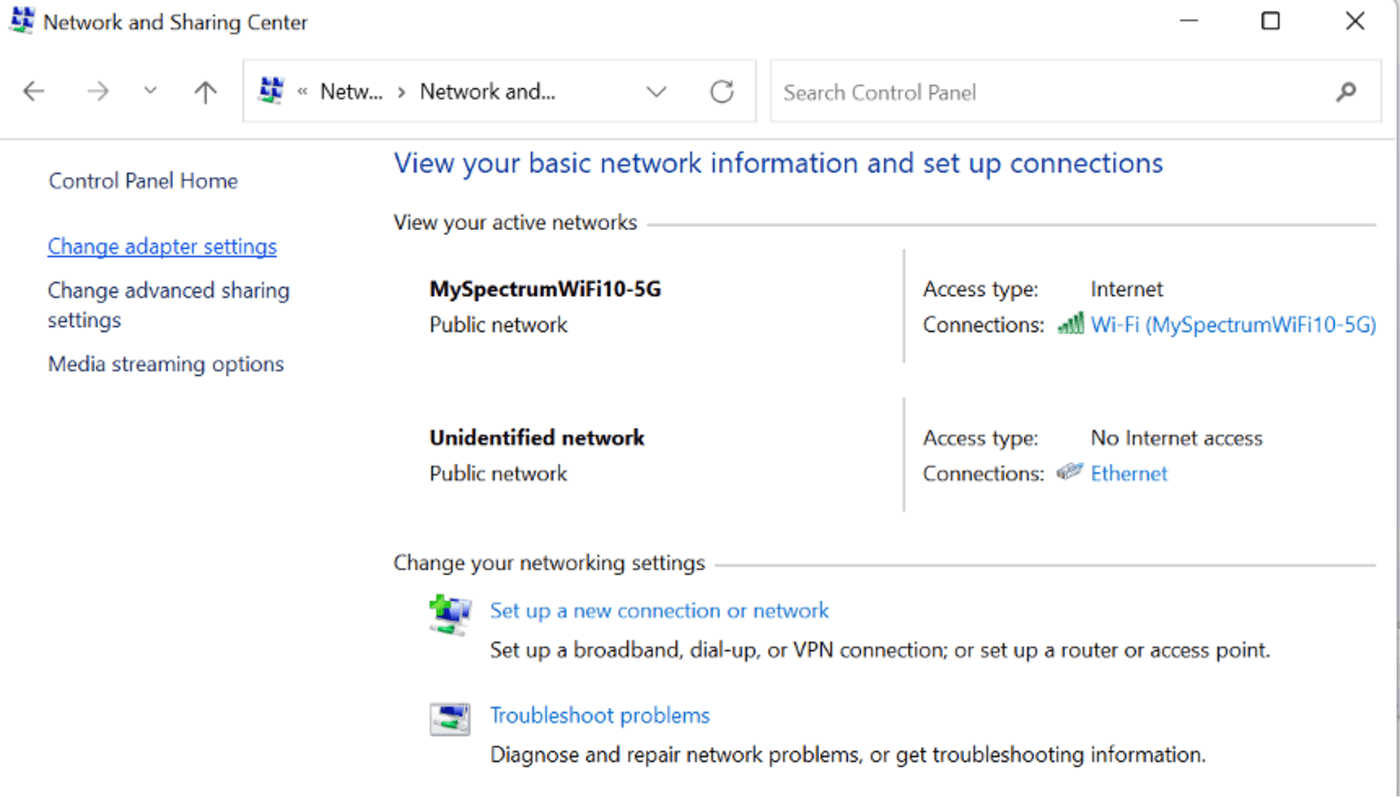
6. Locate your connection. In our example, my adapter is labeled as ‘Ethernet’. If you are not sure which connection is your adapter, simply unplug the cable from your workstation, you’ll see your adapter disappear from the window, plug the cable back in and double click on your connection.
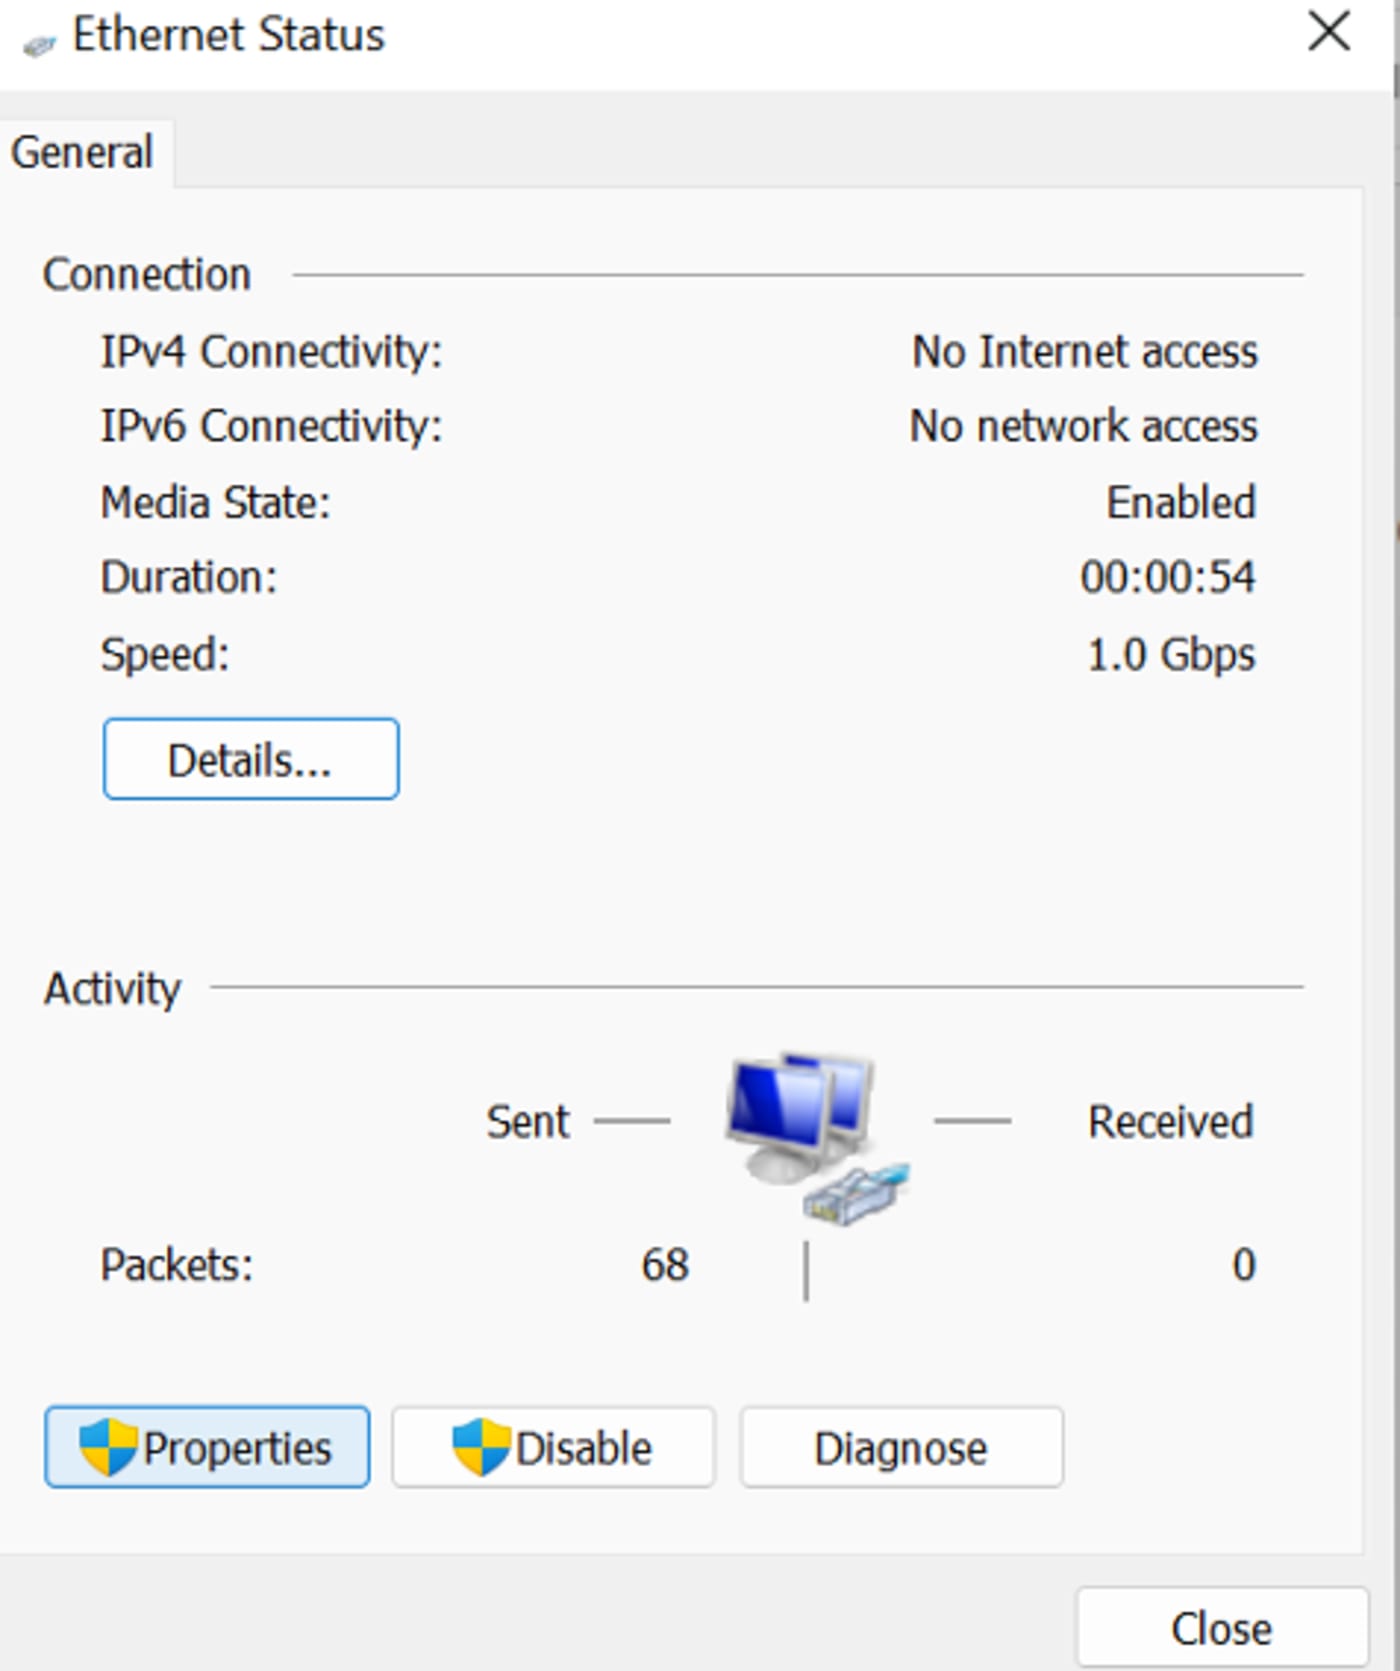
7. Click on ‘Properties'
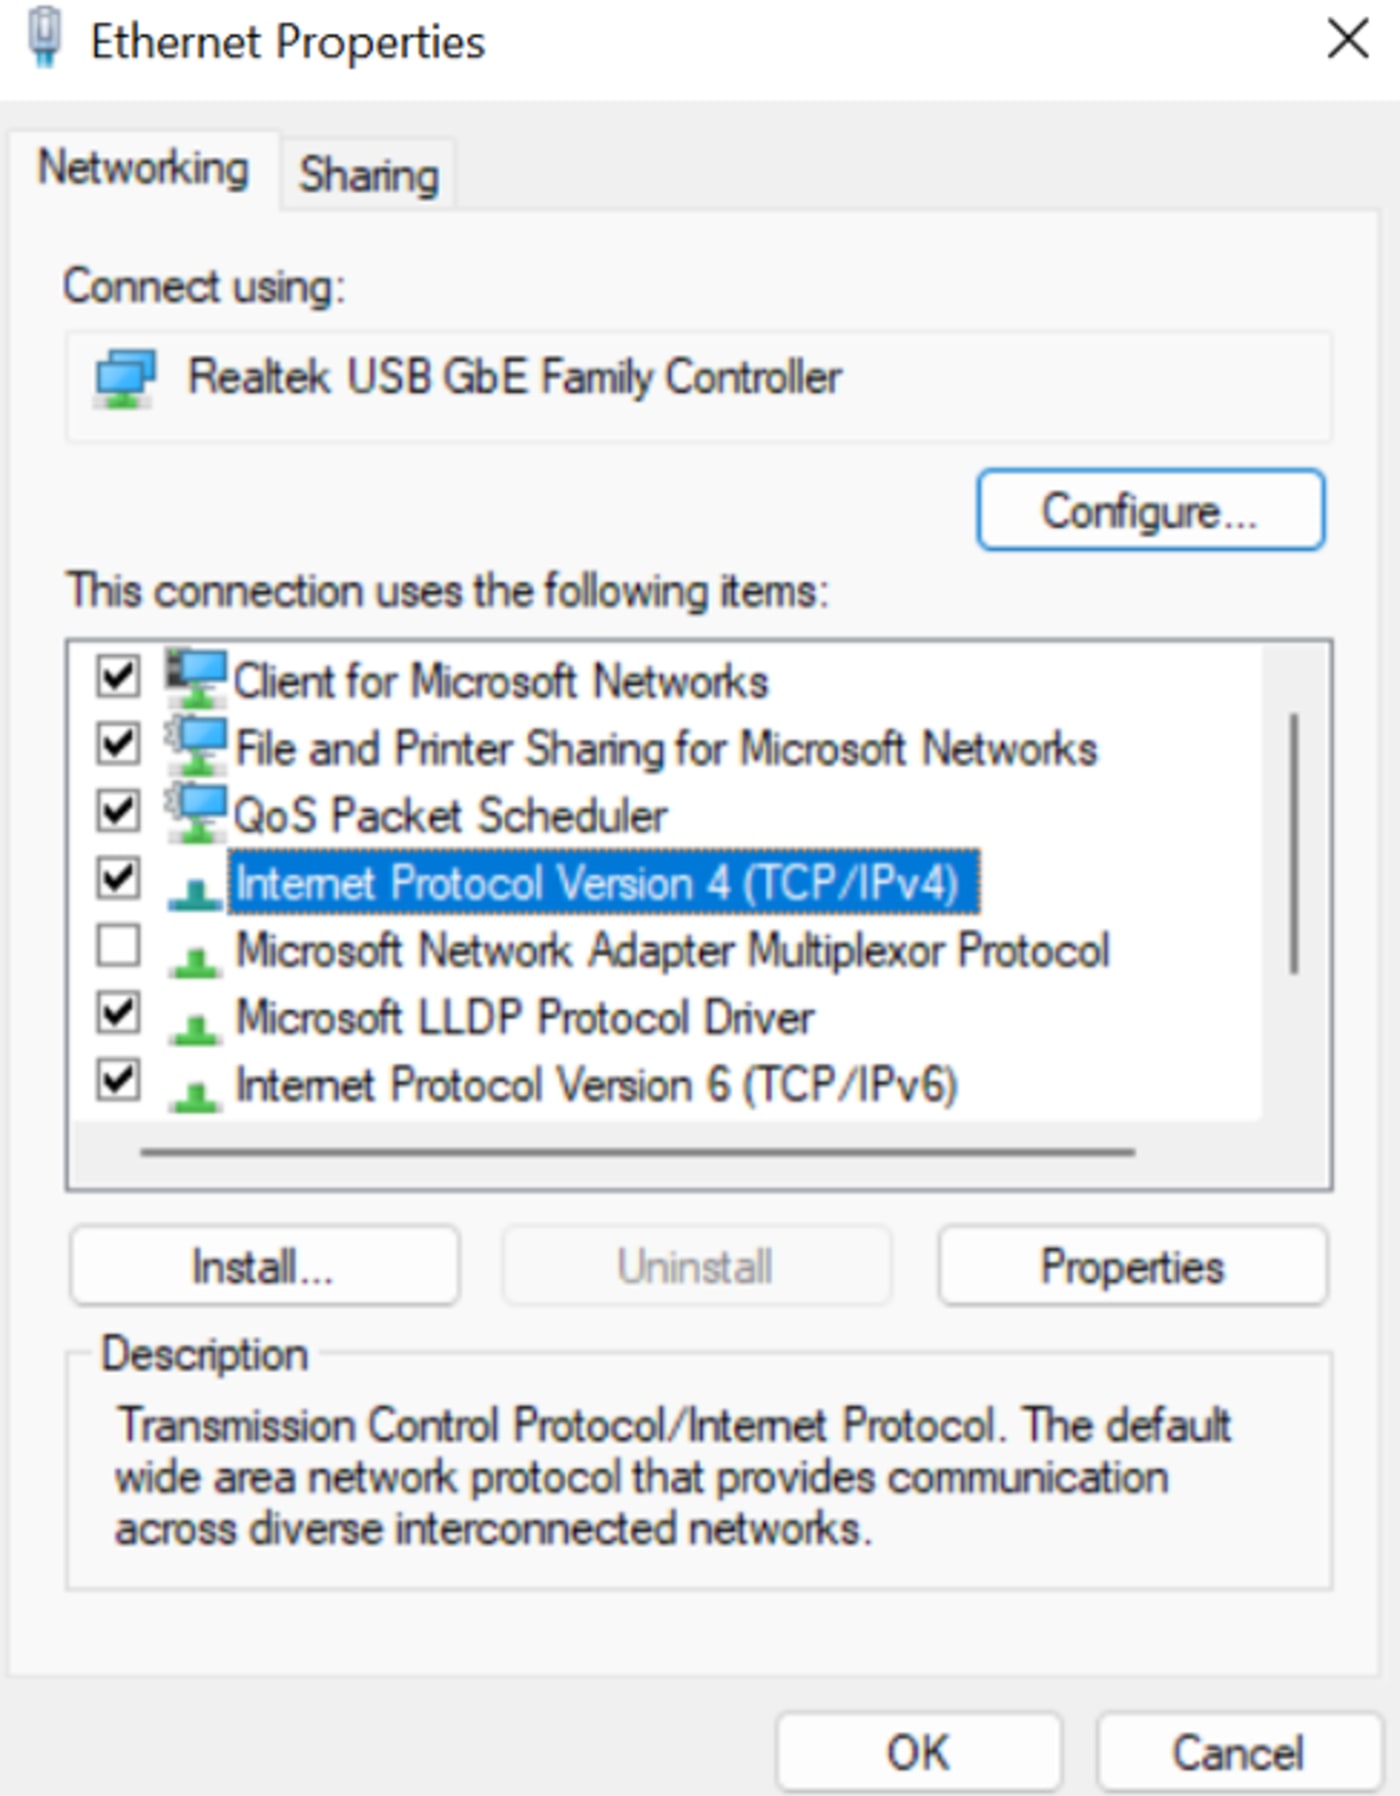
8. Double click on ‘Internet Protocol Version 4 (TCP/IPv4) Properties’
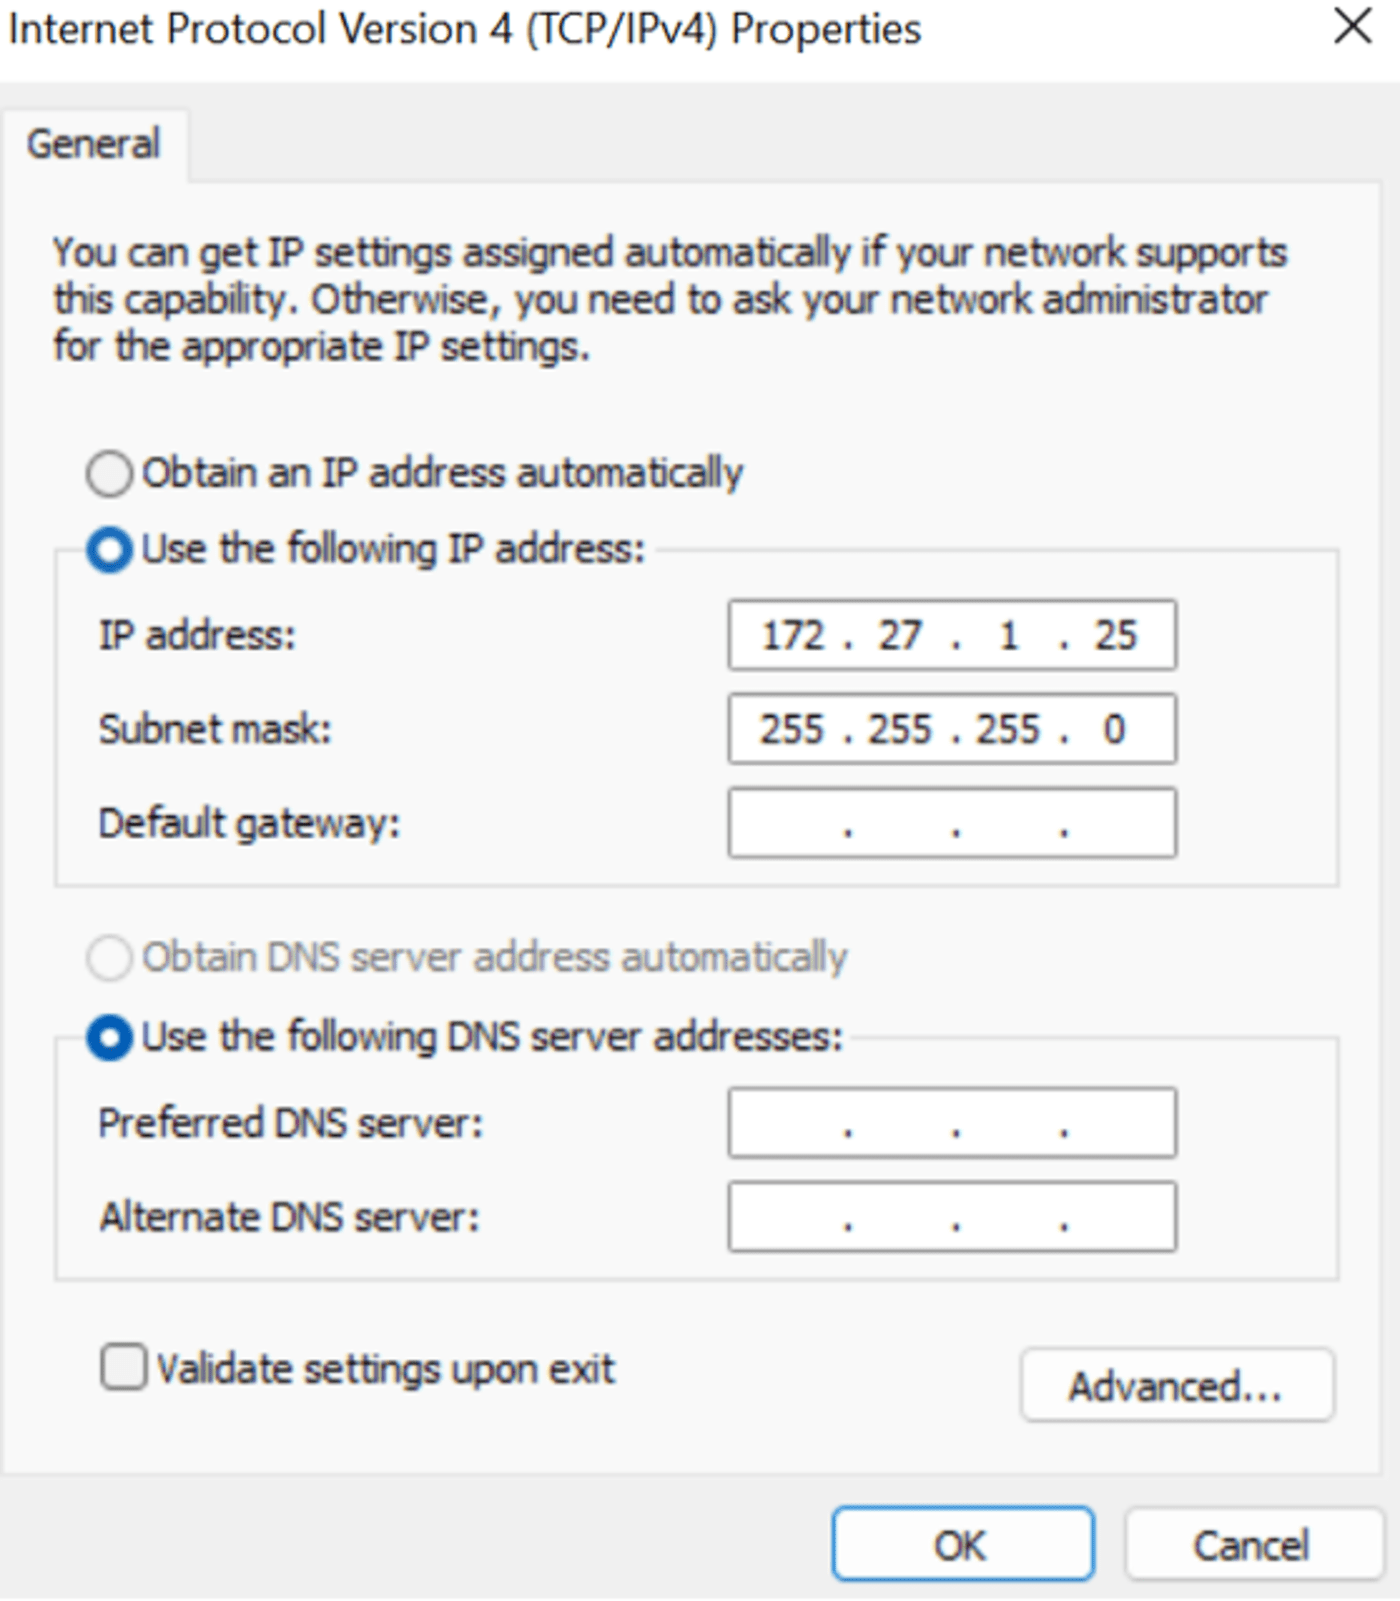
9. Select ‘Use the following IP address:’
In the “IP address” field, you will input the IP address that corresponds to the Jellyfish port your workstation is plugged into. The subnet mask will be 255.255.255.0
Please see this article for the list of ports and their corresponding IP addresses, as well as how to count the ports on your Jellyfish: Default Port Configuration
Click OK, closing the window. Click OK again in the remaining window.
10. Click on ‘Properties’ again
Click on ‘Configure’
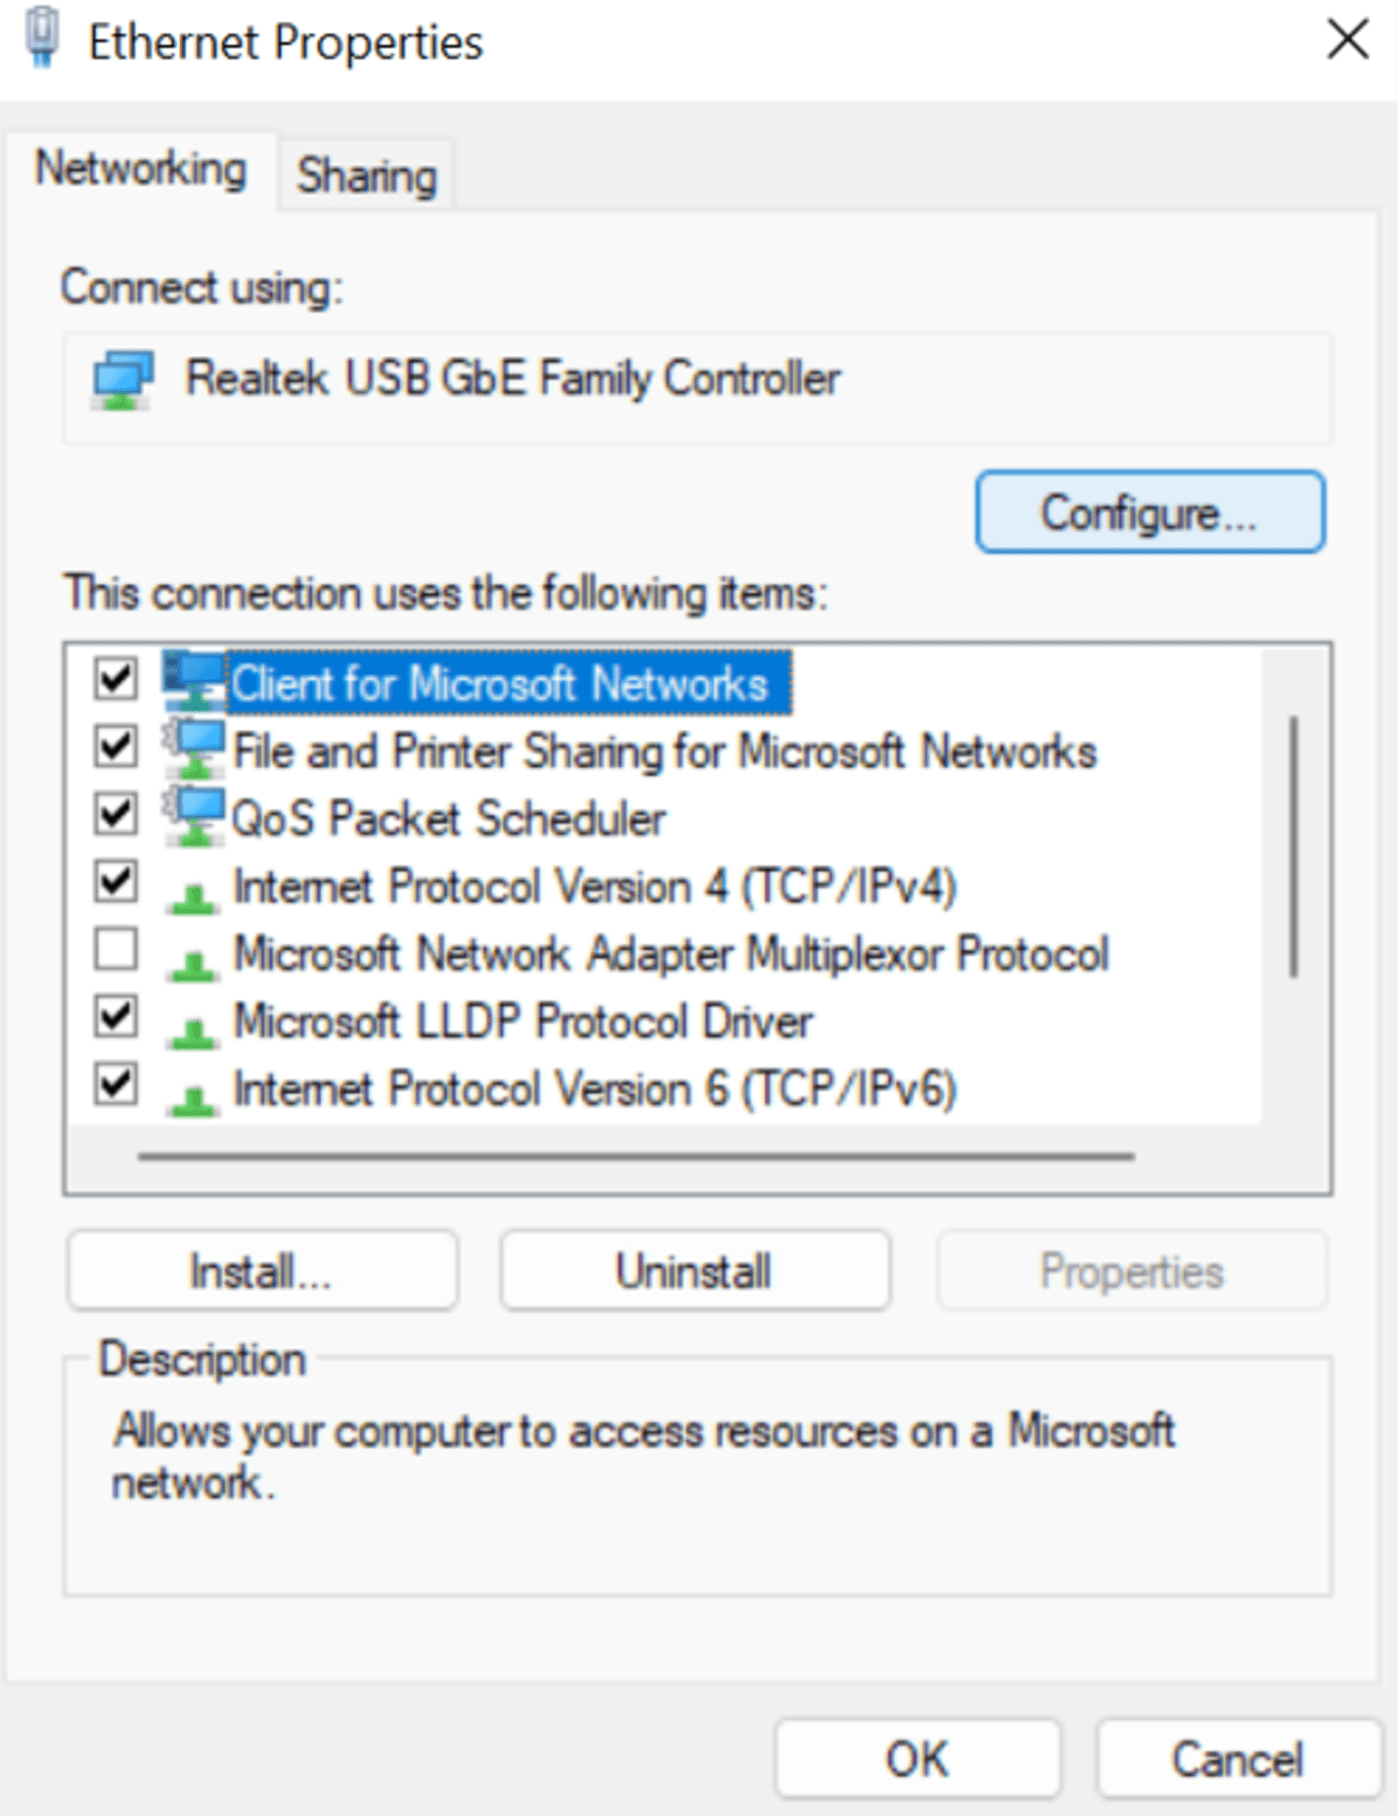
11. Click on the ‘Advanced’ tab

NOTE: If you are using a 10G adapter, this is where you’ll want to adjust additional settings to enable the 10G connection. Select ‘Jumbo Frame’ or sometimes it’s called ‘MTU’. Under ‘Value’ set your Jumbo frames to 9000 or for some 9014. For a 1G connection, you can just set it to 4000, or 4088. Make sure to look at your adapter’s guide on any additional drivers you’ll need to download or specific settings to adjust.
12. Disable ‘Flow Control’ settings.
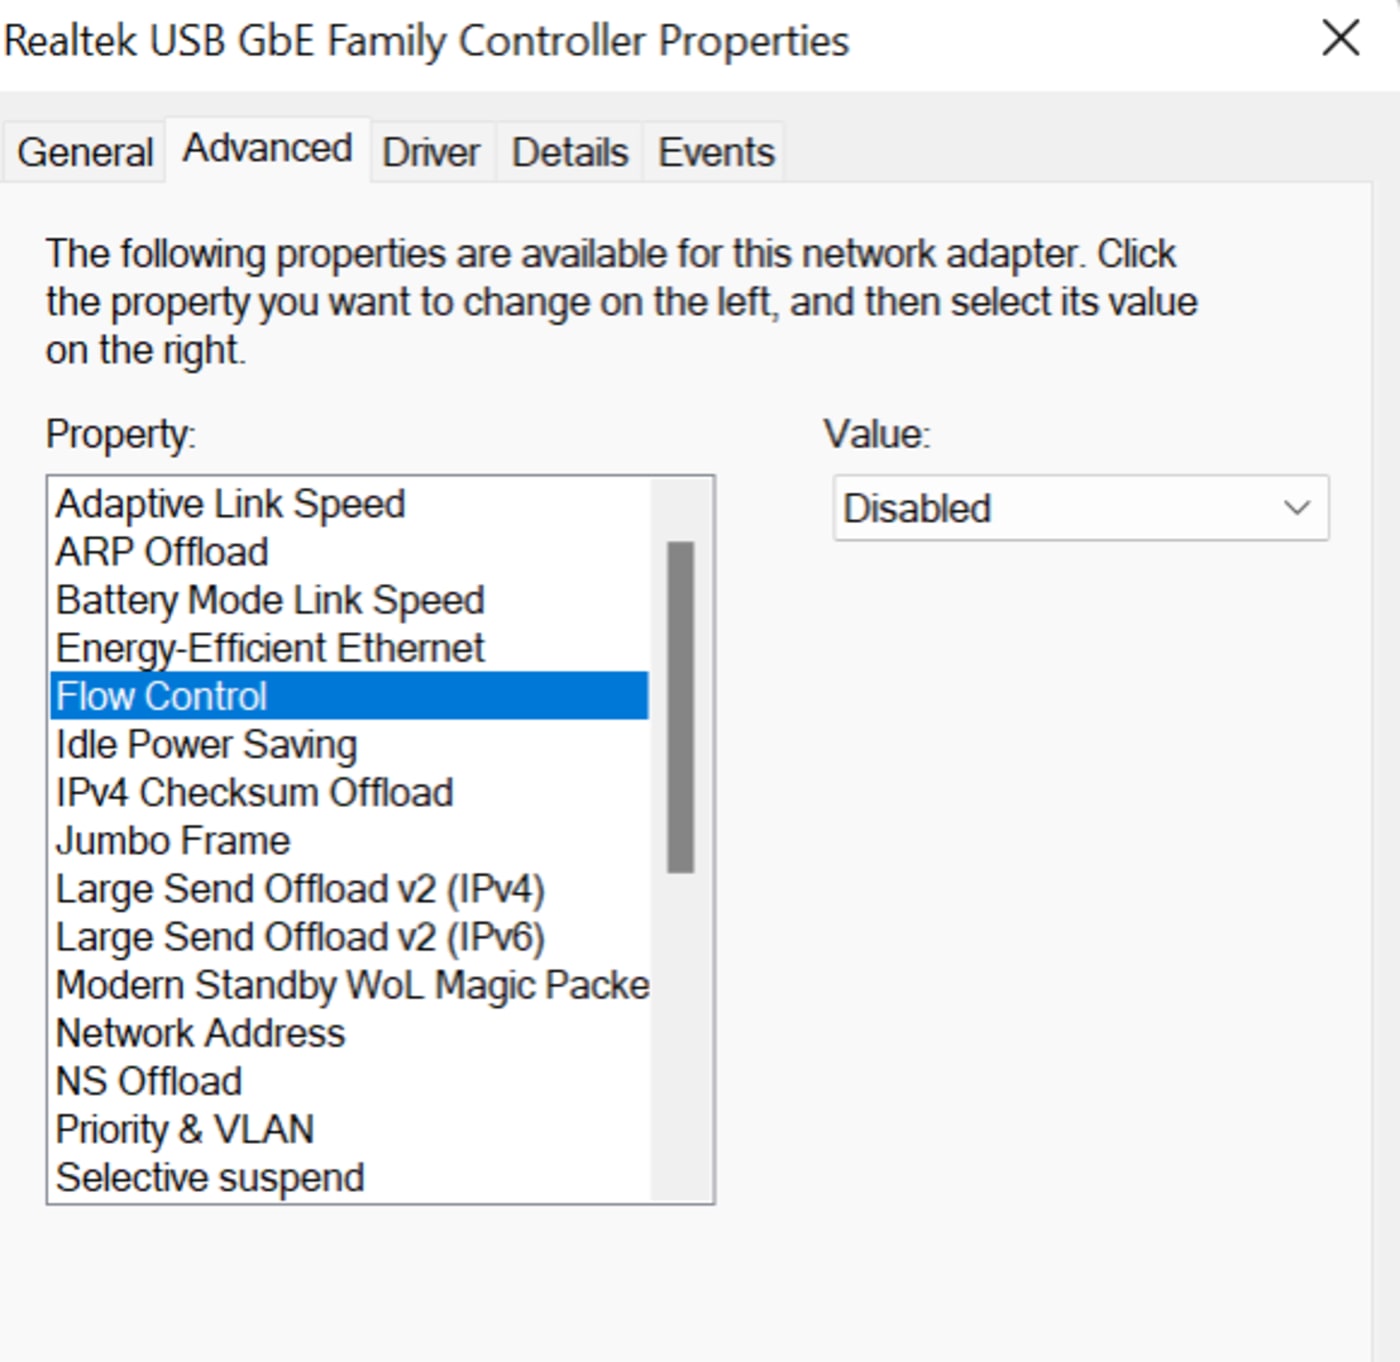
13. Click ‘OK’ to save
Now you’re ready to connect to the shares on your server.
Connect to your shares on your Jellyfish:
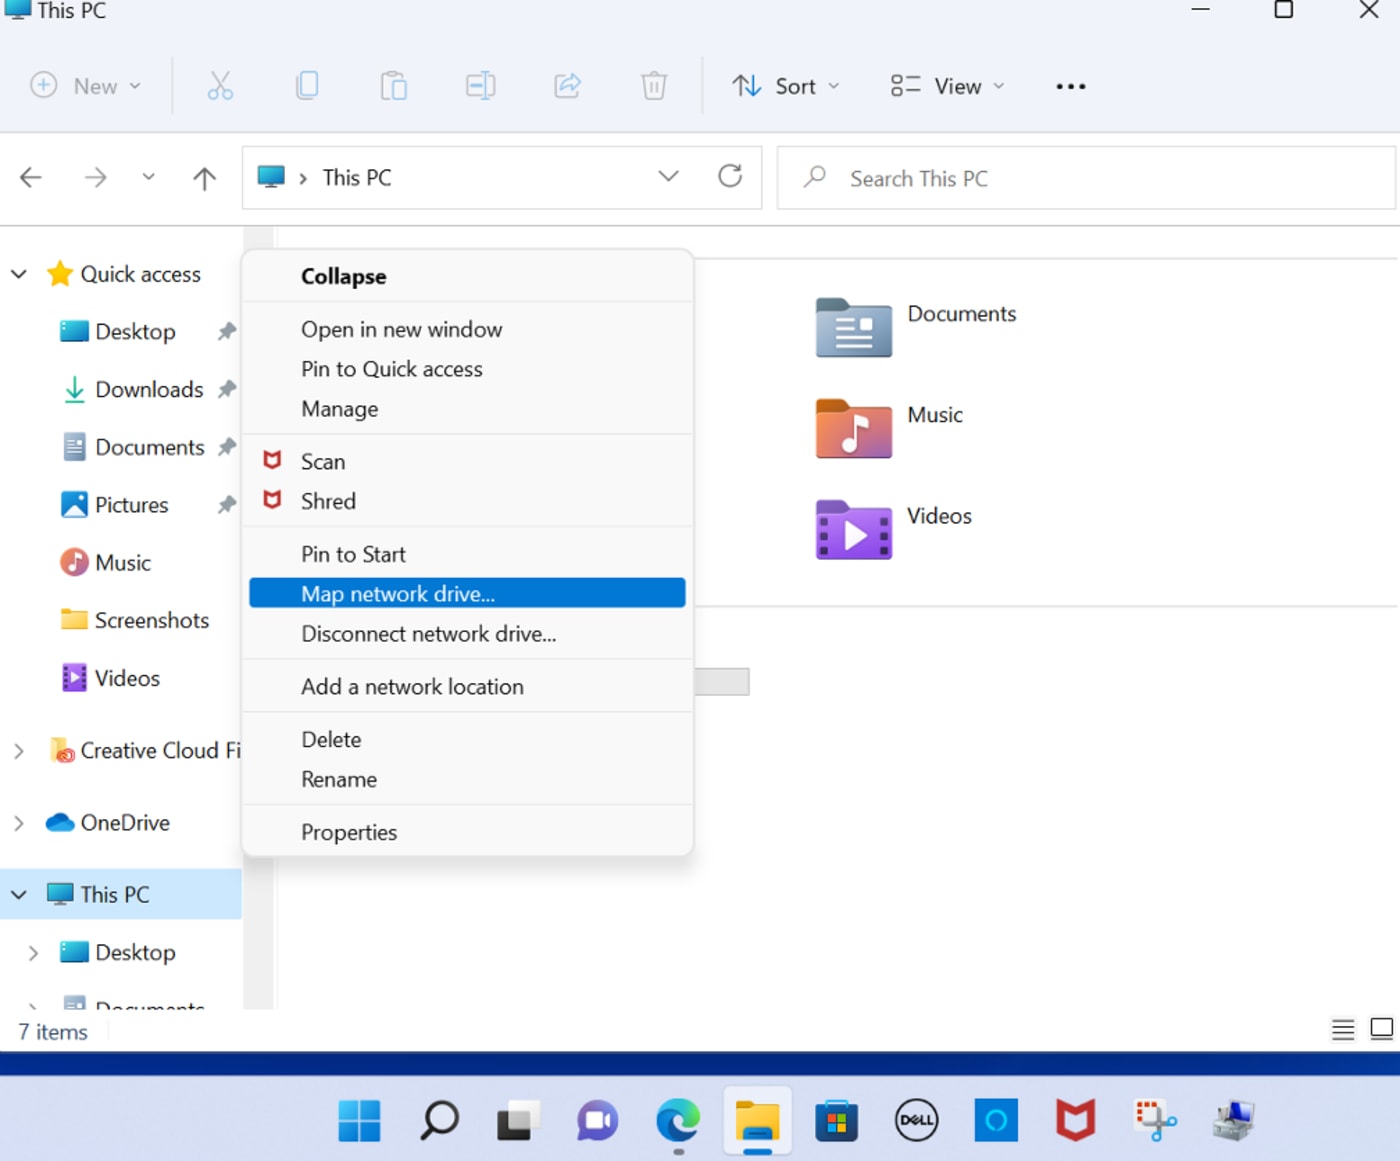
14. Go to 'File Explorer’
15. Right Click ‘This PC’
16. Click 'Show More Options’ (if necessary)
17. Click ‘Map Network Drive’
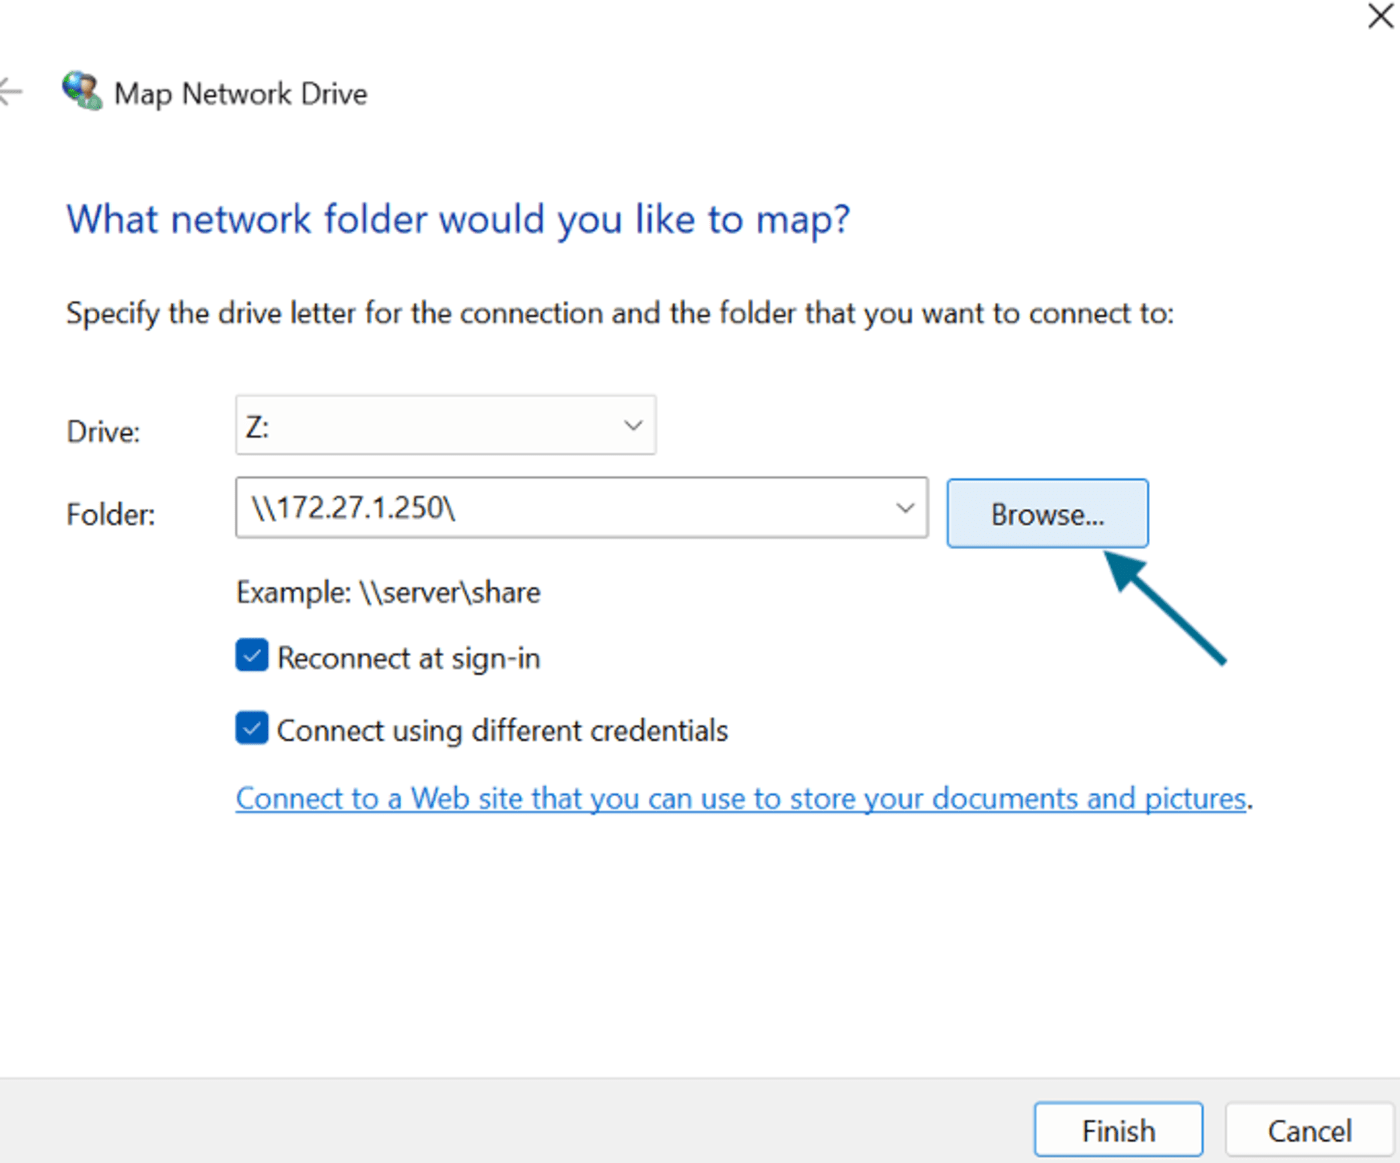
19. In this window, you will need to use the Jellyfish port IP number again, this time in full. In the drive window, select the first available letter for the connection. In our example, it is Z.
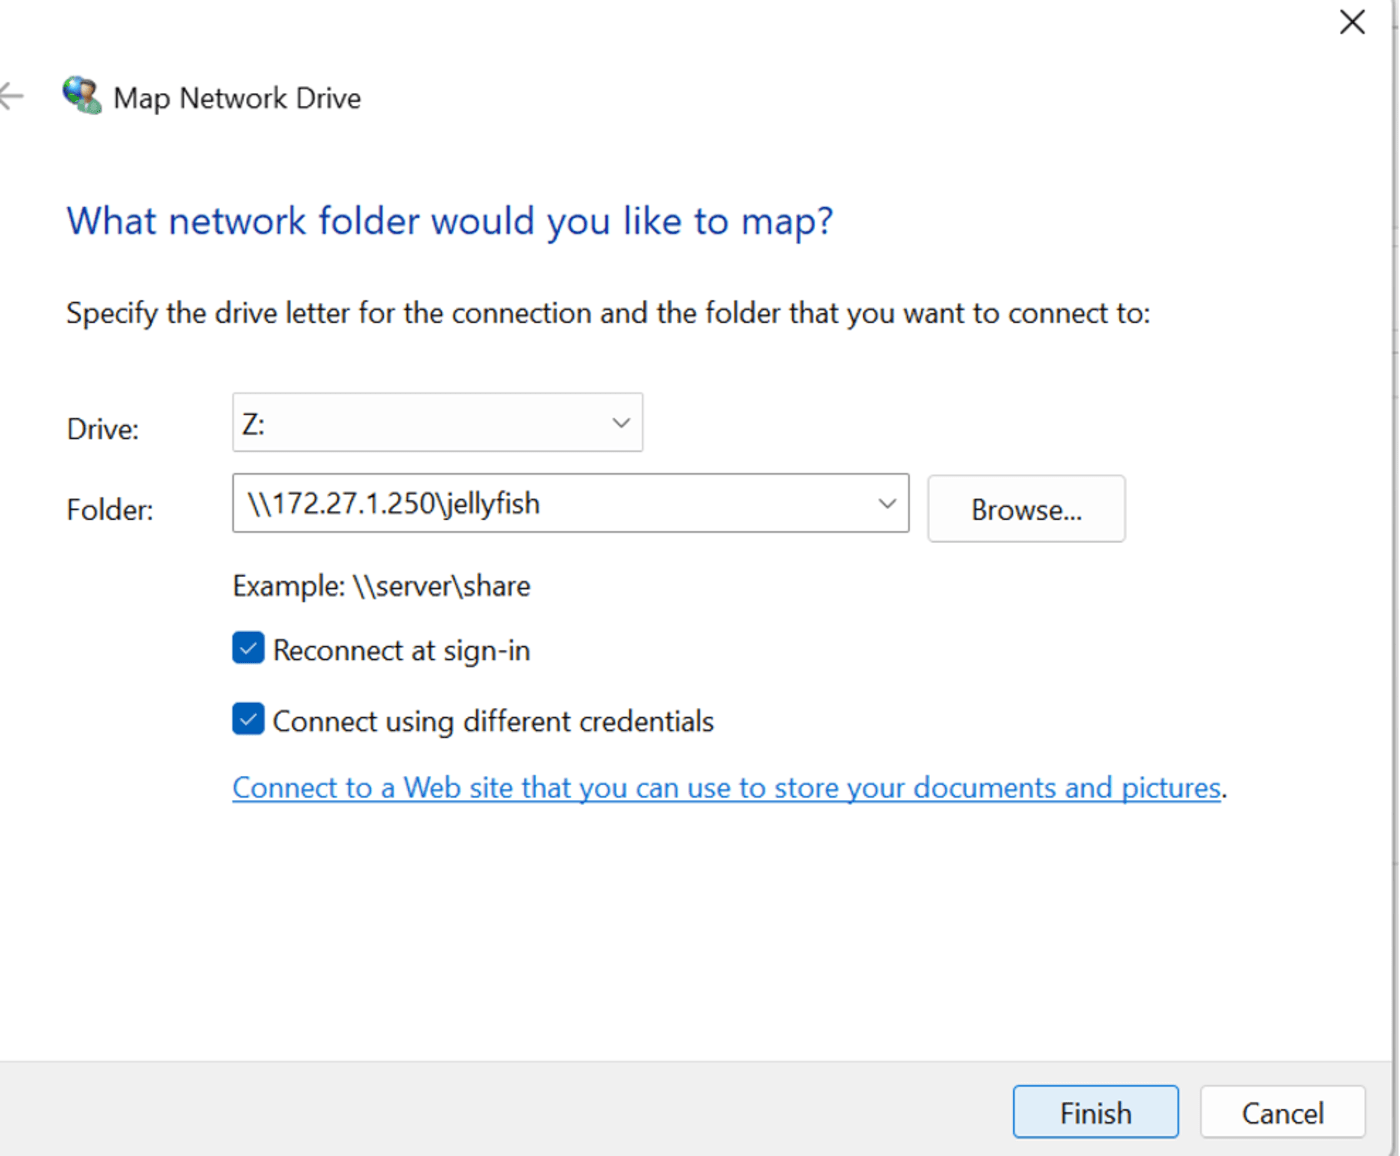
In the ‘Folder’ window, enter the IP address of the Jellyfish port you are connected to in the following format: \\port IP\share name
Example: If plugged into port 1, enter: \\172.27.1.250\jellyfishSelect ‘Connect Using Different Credentials’
Select 'Finish’
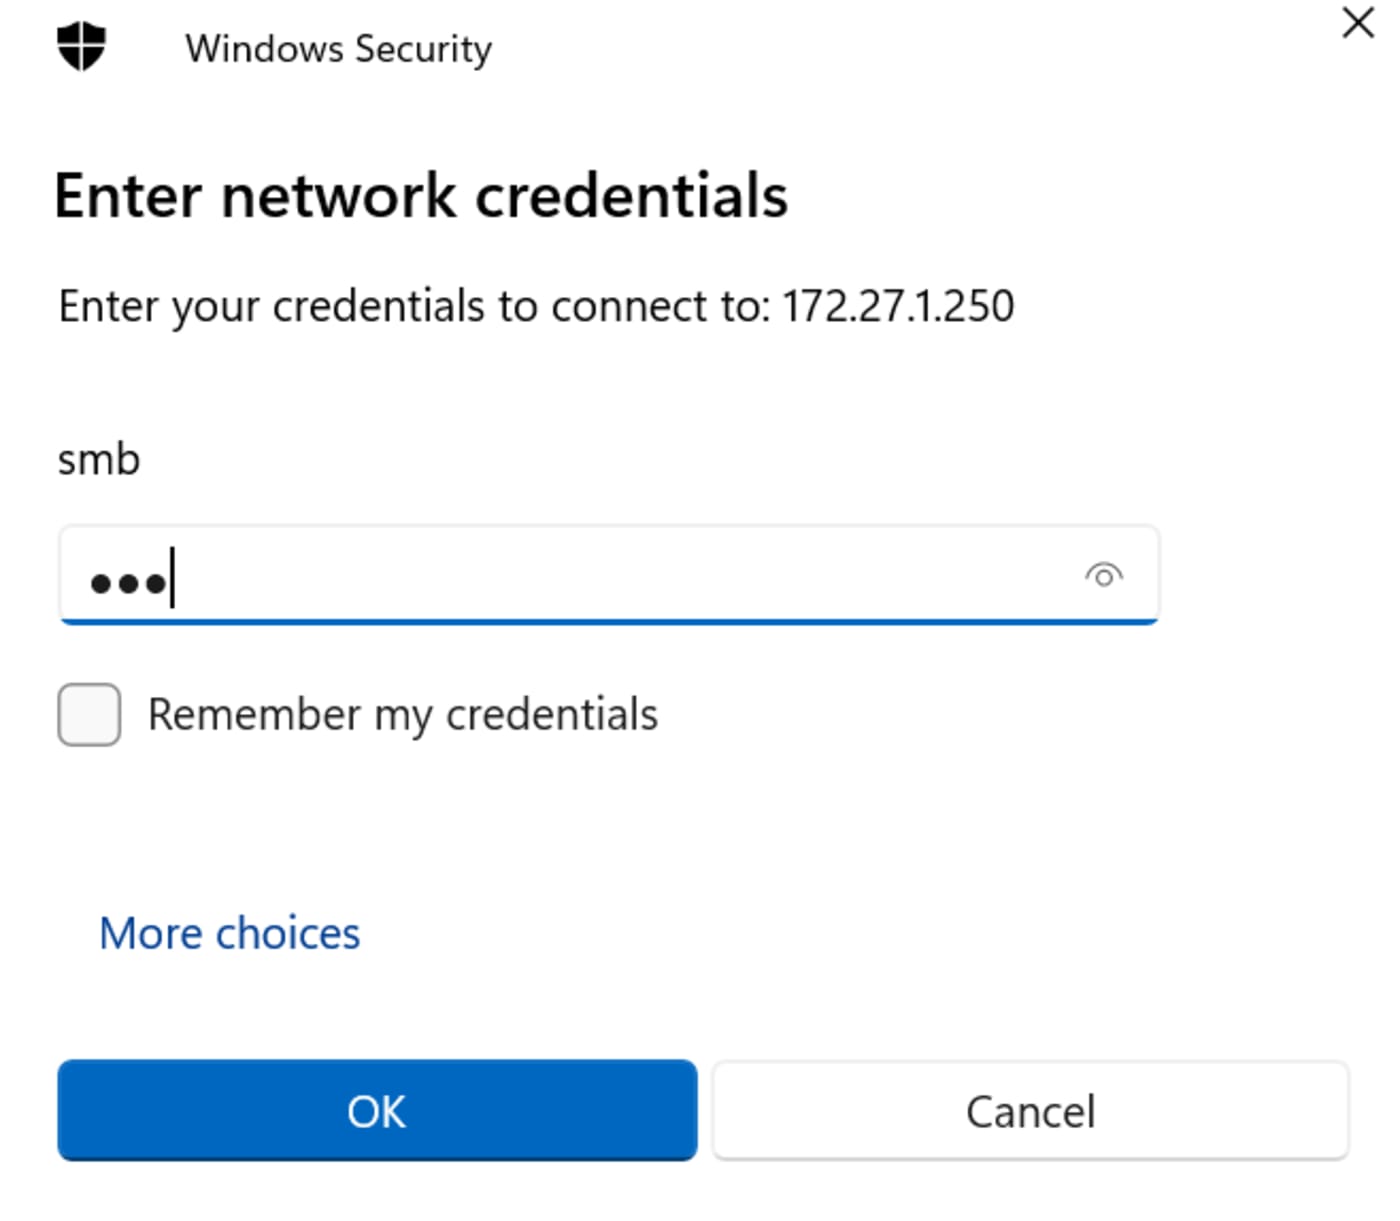
20. Enter your JF username and password here. If you haven't created one already, instructions on how to do so can be found at https://www.owc.com/support/je... After entering your credentials, click ‘OK.’
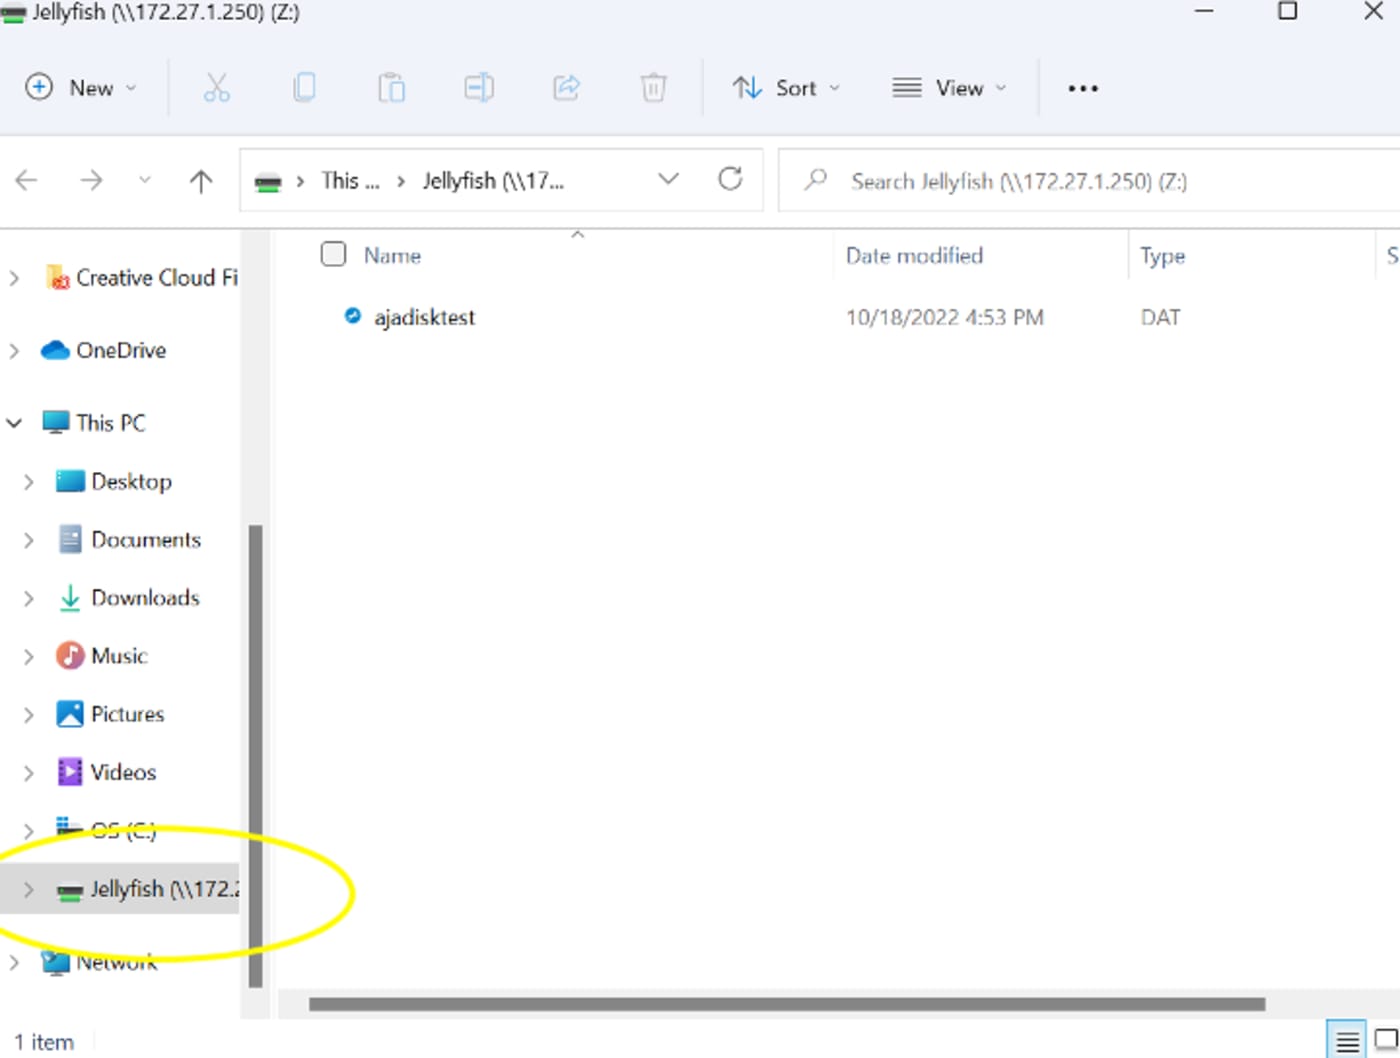
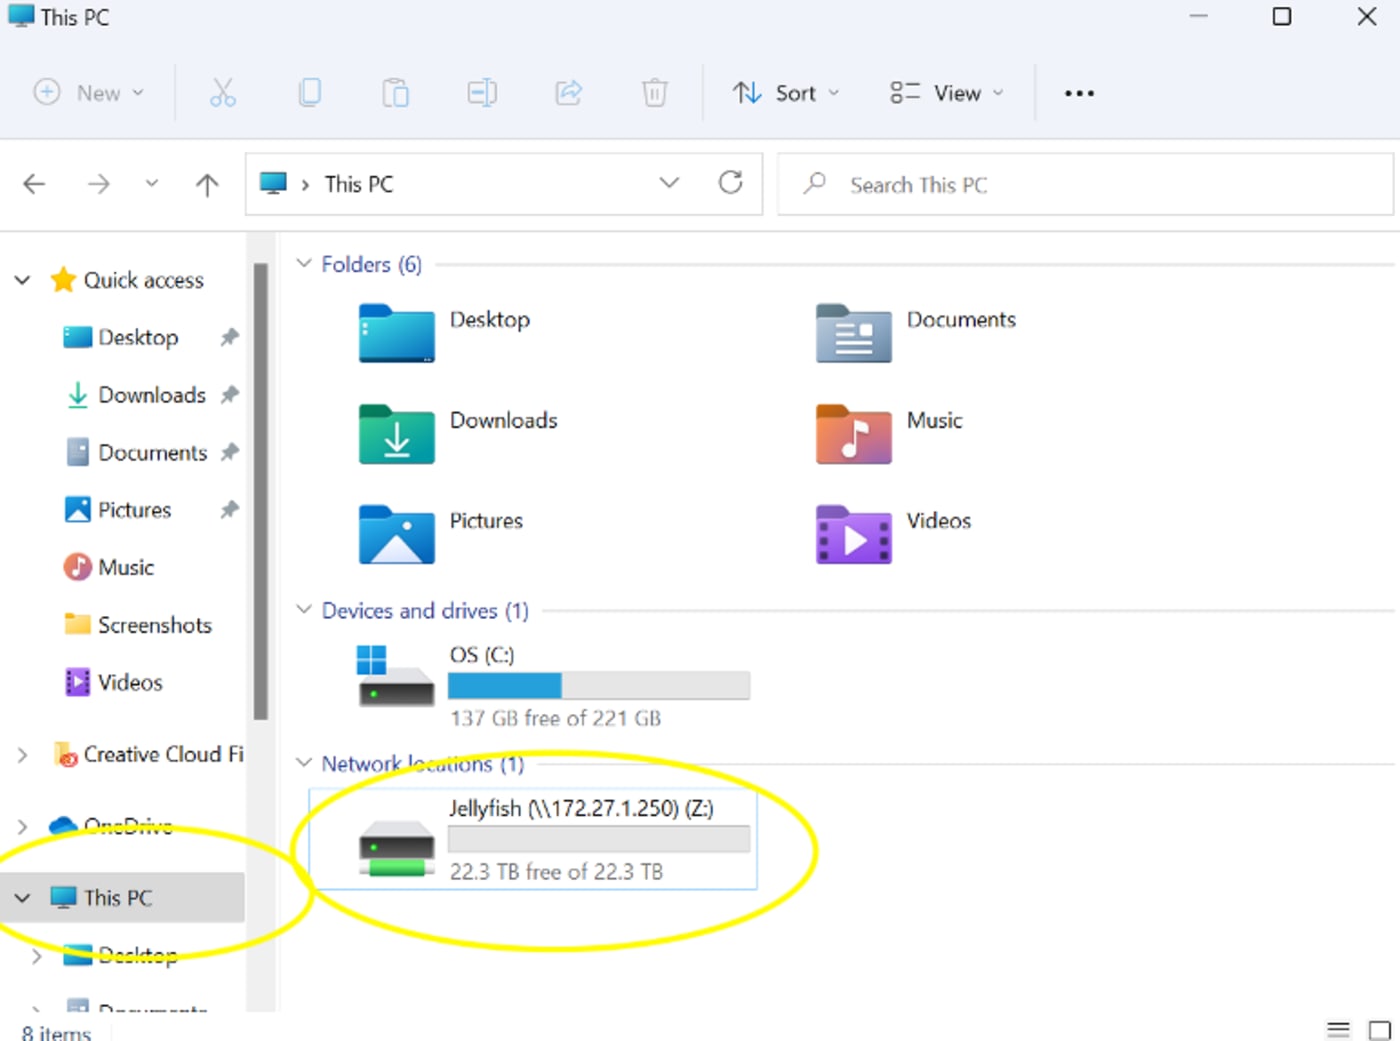
You are now connected to your main share of your Jellyfish. You will see that the share pops up in the locations noted below
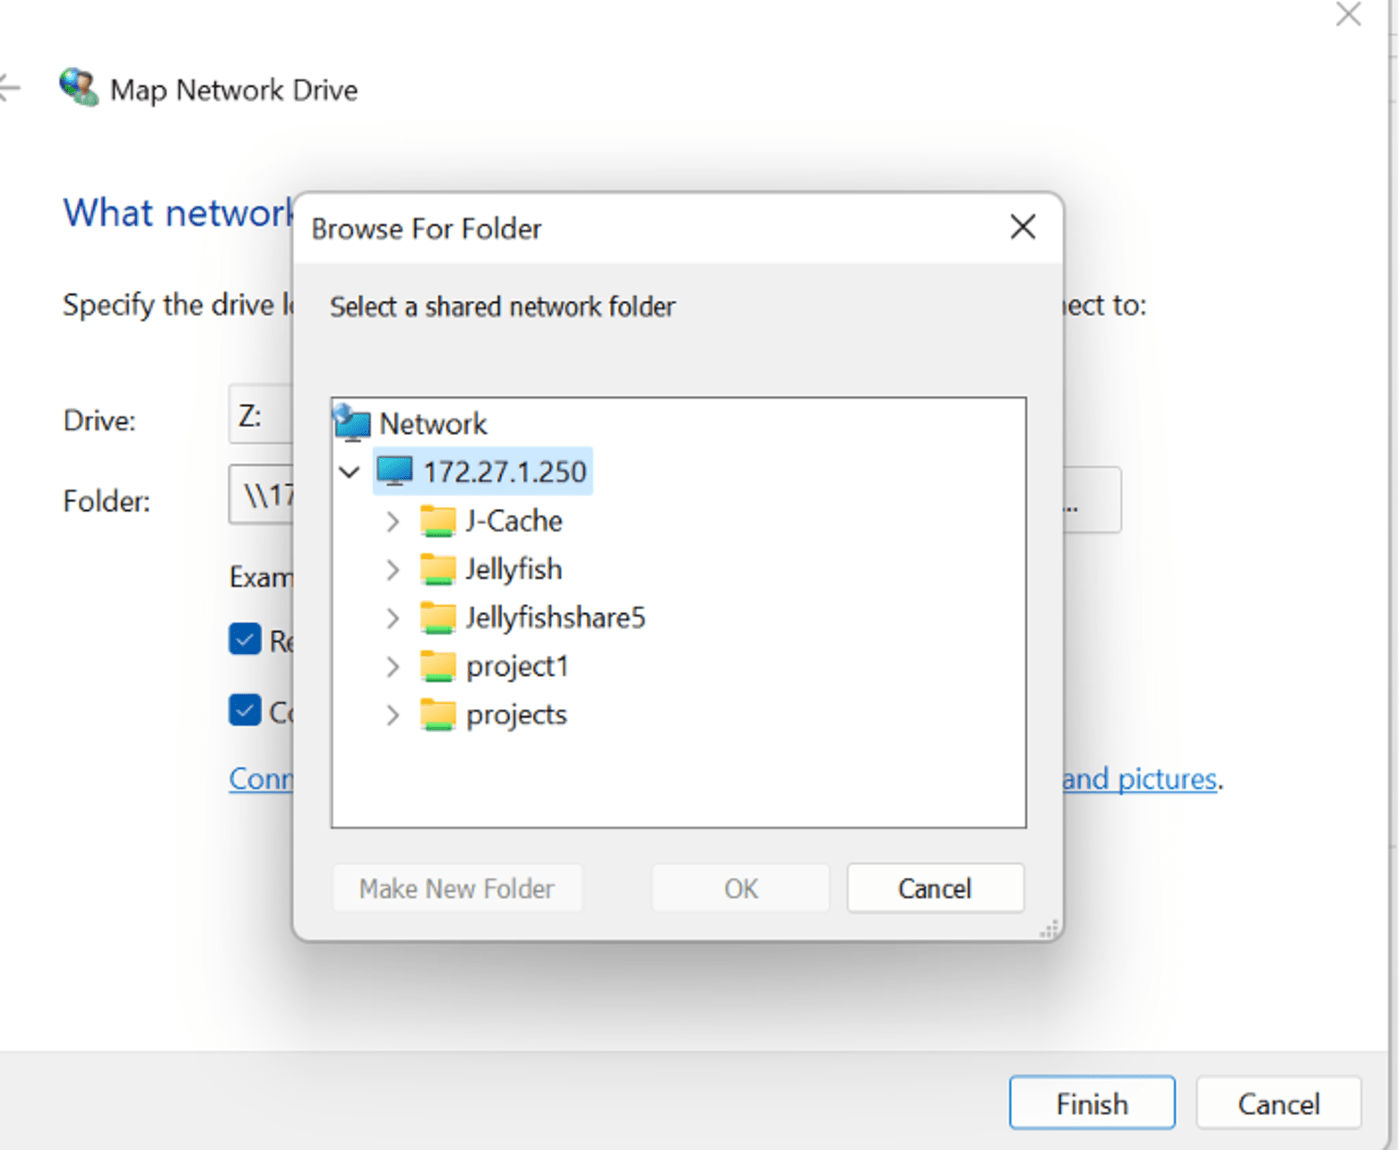
NOTE: Alternatively, you can view all the shares on your Jellyfish, by following step #19, but instead of entering the share name in the ‘Folder’ window, click the ‘Browse’ button to the right of the window to view all the share
Extras Tips:
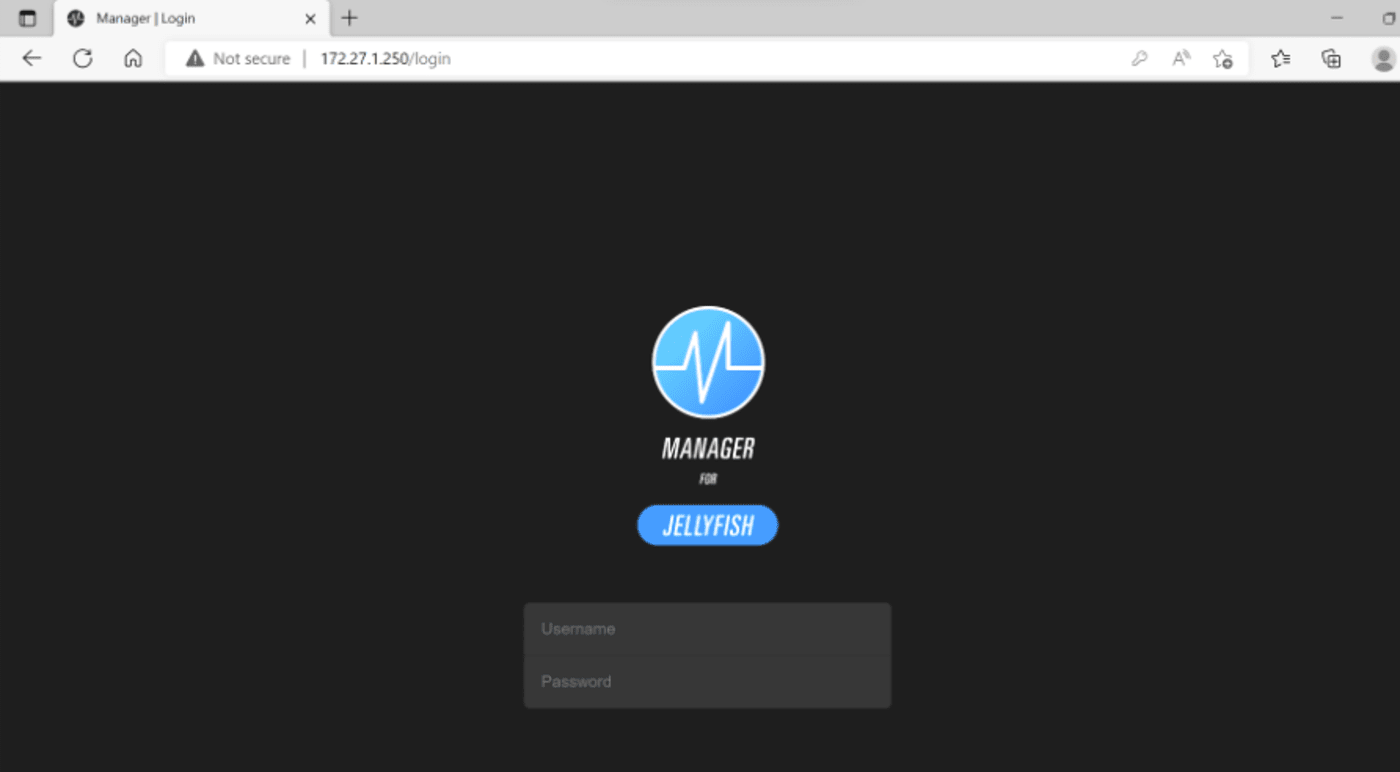
Access Jellyfish Manager:
To access Jellyfish Manager (your admin hub), open any web browser and enter the Jellyfish port number IP address that you used earlier. See example below: 172.27.1.250
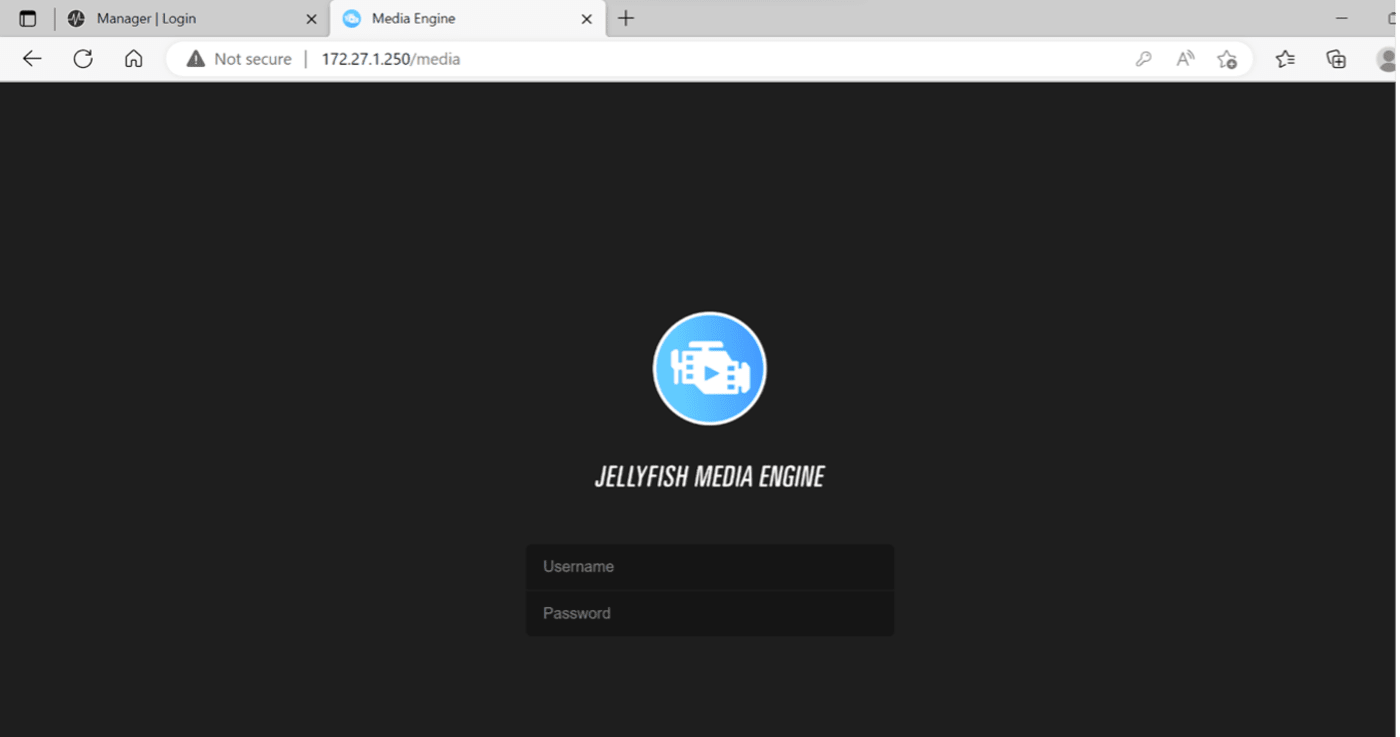
Access Jellyfish Media Engine:
To access Jellyfish Media Engine (the Jellyfish’ own proxy tool), open any web browser and enter the Jellyfish port IP that you are connected to + /media. See example below: 172.27.1.250/media
Originally published November 4th, 2022.
Most recent update: October 10, 2023.